Looking for hardware solutions that meet European / American standards?
Use this guided inquiry modal to move from a generic quote form to a clearer technical conversation. Buyers can choose whether they need pricing, CAD / 3D files, or OEM / ODM support before sharing contact details.
Compatibility-first design across door / window systems
Repeatable production with clear inspection checkpoints
Documentation and change control for long-running programs
Responsive engineering support for fit and field feedback
Door handing is not a cosmetic detail. It tells the fabricator, hardware supplier, installer, and purchasing team which side carries the hinges, how the door opens, and which handed components may be required.
Get it wrong and the problem rarely stays with the hinge.
A reversed handing specification can affect a mortise lock, lever orientation, latch bevel, closer setup, strike position, access-control hardware, frame preparation, and even the usable clearance around the opening. Allegion’s technical guidance separates door and lock handing into four common U.S. configurations—LH, RH, LHR, and RHR—and specifically warns that a reverse-handed door may not use the same handing designation for its closer. Allegion’s door handing guidance is worth reading for exactly that reason.
I treat any door schedule that says only “left” or “right” as incomplete unless the reference side and opening direction are unmistakable.
Sounds fussy? It isn’t.
Door Handing and Door Swing Direction Are Not the Same Thing
Door handing identifies the hinge side and handing configuration. Door swing direction describes where the door leaf travels when it opens.
Those two pieces of information interact, but they aren’t interchangeable.
You might hear someone say:
“It’s a left-hand door.”
“It swings out.”
“The hinges are on the left.”
“It’s LHR.”
“It opens to the corridor.”
Those statements do not necessarily communicate the same amount of information.
For U.S.-style architectural hardware, a useful starting procedure is to stand on the defined outside, secure, or key side of the opening. Note which side carries the hinges. Then determine whether the door swings away from you or toward you. Allegion describes a door swinging away from that reference side as a standard swing and a door swinging toward that side as a reverse swing.
That gives us the basic vocabulary:
LH: Left Hand
RH: Right Hand
LHR: Left Hand Reverse
RHR: Right Hand Reverse
But here’s the part purchasers often miss: the terminology used for the door leaf isn’t automatically the ordering terminology for every piece of hardware attached to it.
Allegion gives a striking example: an LHR door can use an RH door closer, while an RHR door can use an LH closer.
Handing mistakes multiply.
When a project combines a prepared aluminum profile, handed lever trim, mortise lock body, multipoint mechanism, closer, strike, and predrilled hinge pattern, one incorrect two-letter abbreviation can propagate through several independently manufactured components before anyone notices the conflict during final assembly.
Why gamble on two letters?
For OEM production, I would put the opening-direction drawing beside the written hand designation every time.
Door Handing Chart: How to Read the Opening Correctly
There is an important industry warning before using any door handing chart: always confirm the convention used by the specific door, lock, closer, hinge, or hardware manufacturer.
Different product families and regional standards can use handing terminology differently. DHI even treats proper handing of doors, frames, and hardware as a distinct technical skill in its industry training.
The following chart uses the U.S. commercial-hardware method described by Allegion, viewed from the outside/security/key side.
Door condition from reference side
Hinge position
Swing relative to you
Common designation
Standard swing
Left
Away from you
LH
Standard swing
Right
Away from you
RH
Reverse swing
Left
Toward you
LHR
Reverse swing
Right
Toward you
RHR
How to Determine Door Handing in the Field
Use this sequence rather than guessing from a photograph:
Define the reference side. For many U.S. commercial applications, use the outside, secure, or key side according to the hardware manufacturer’s instructions.
Find the hinge side. Don’t use the handle as your reference.
Observe the opening movement. Does the leaf move toward you or away from you?
Record both facts. Write the handing abbreviation and opening direction.
Add a sketch. Show the frame, hinge jamb, latch jamb, and swing arc.
Verify the hardware separately. Check the lock, lever, exit device, closer, and any other handed component against its own technical sheet.
For production orders, also record door width, height, thickness, hinge size, leaf thickness, fixing pattern, frame/profile geometry, opening angle, and required load.
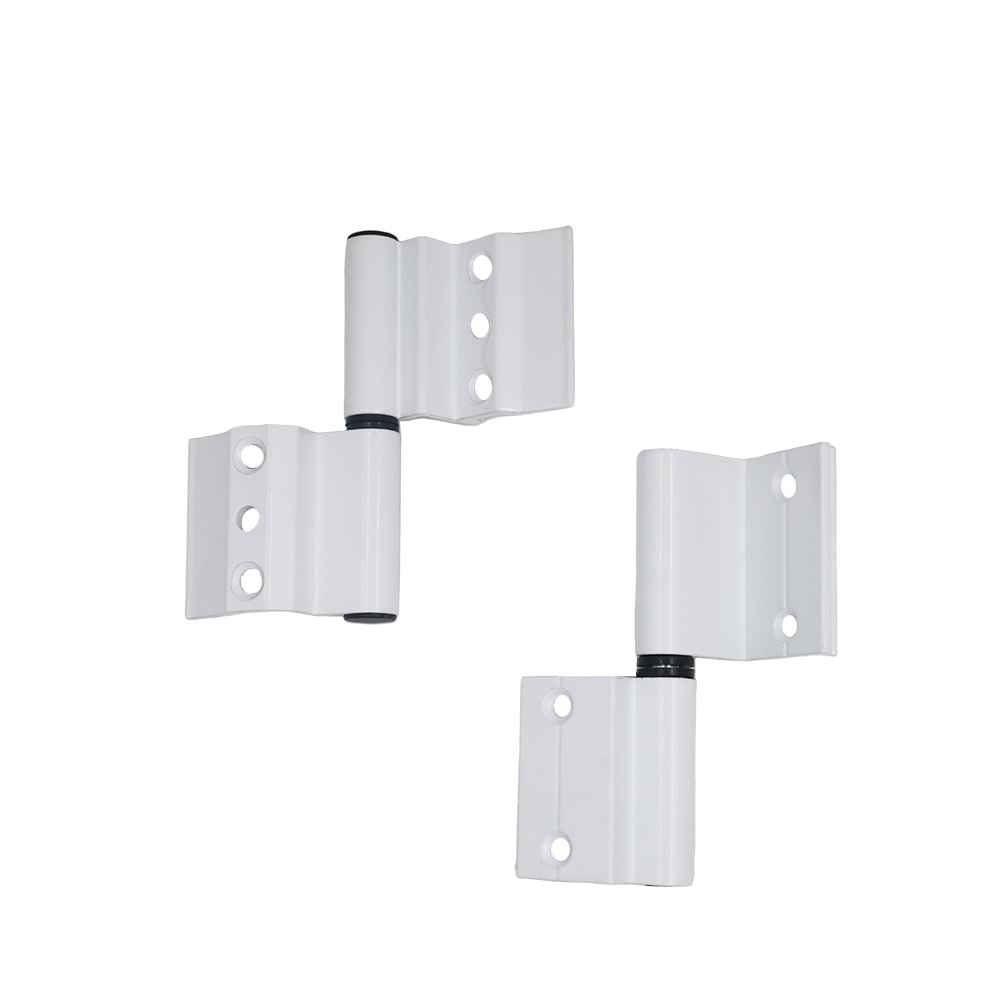
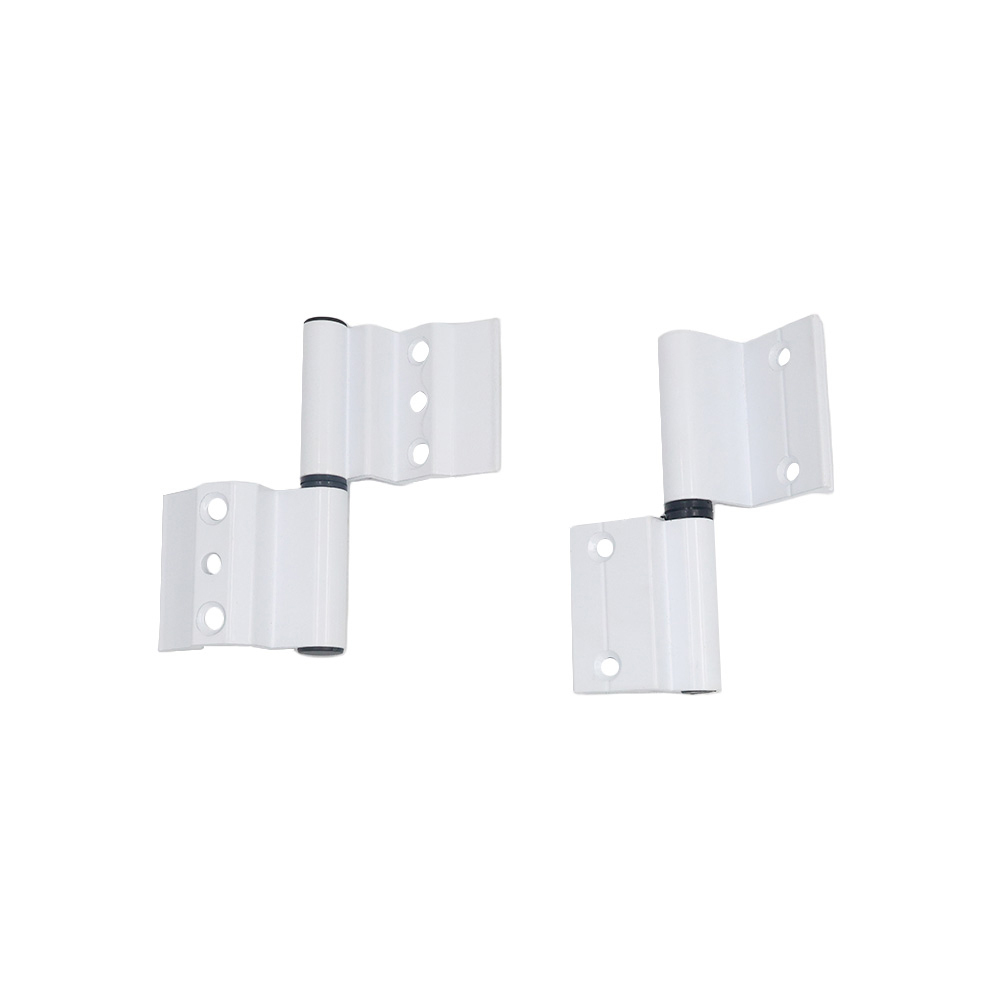
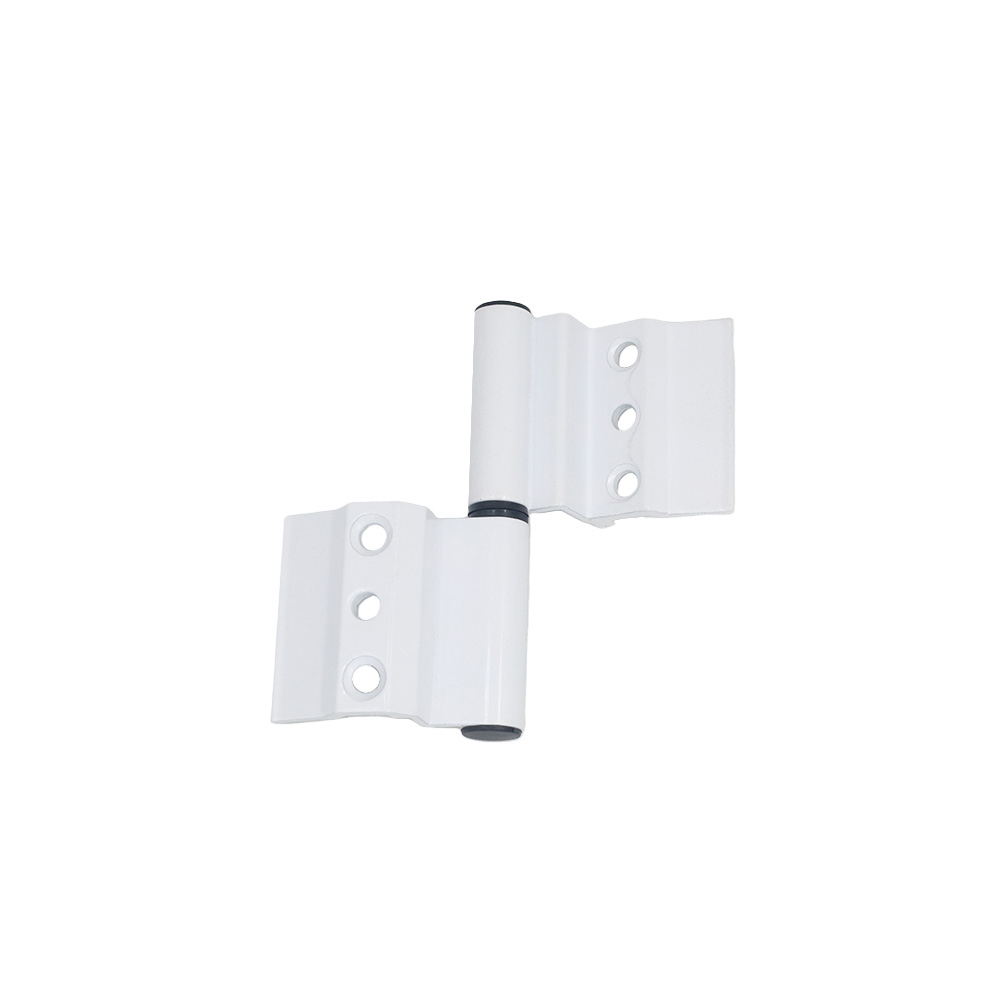
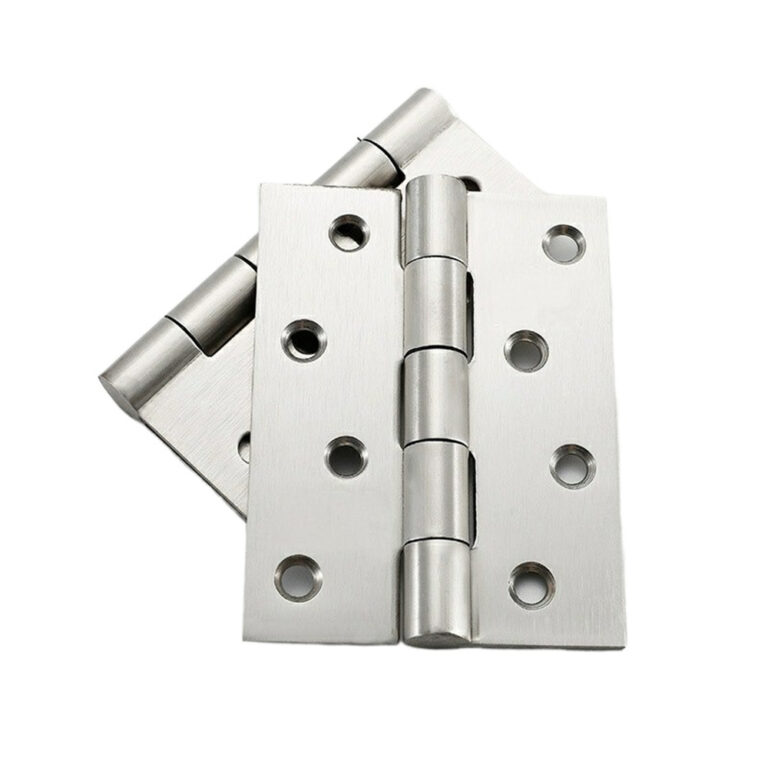
CHIER’s commercial door hinge range covers butt hinges, ball-bearing hinges, spring hinges, concealed hinges, continuous hinges, and other hinge configurations, while its own sourcing guidance asks buyers to consider hinge type, dimensions, load requirements, corner style, mounting details, and application—not handing alone.
That’s the right mindset. A hinge isn’t selected in isolation.
Inswing vs Outswing Door: Which Opening Direction Is Best?
There is no universal best door swing direction.
That’s the uncomfortable answer.
An inswing arrangement may make sense for one room while an outswing arrangement may be required or strongly preferred for another because the decision can depend on egress, occupant load, hazards, accessibility clearance, circulation space, weather exposure, security strategy, adjacent doors, hardware, and the applicable local code.
When an Outswing Door Becomes a Safety Issue
For U.S. workplaces, OSHA gives a very specific rule.
Under 29 CFR 1910.36(e)(2), a door connecting a room to an exit route must swing in the direction of exit travel when that room is designed for more than 50 occupants or is a high-hazard area containing material likely to burn extremely rapidly or explode. See the OSHA exit-route requirements.
That one rule should kill the myth that door opening direction is simply an architectural preference.
It isn’t.
On an egress opening, changing from inswing to outswing can change the relationship among the hinge side, latch side, frame stop, closer mounting, panic hardware, corridor clearance, and other components. Depending on the assembly, that may also change the hardware handing you need.
For projects governed by building, fire, accessibility, workplace, or local regulations, verify the adopted code and the authority having jurisdiction before releasing the door package.
Accessibility Can Make a “Small” Swing Decision Expensive
The U.S. Department of Justice’s 2010 ADA Standards for Accessible Design require a minimum 32-inch (815 mm) clear opening for applicable door openings, measured with a swinging door open 90 degrees. The same standards define different maneuvering-clearance requirements depending on whether users approach the push side, pull side, hinge side, or latch side. ADA Section 404 gives the actual dimensional requirements.
For a front approach on the pull side, for example, the standard specifies 60 inches (1525 mm) perpendicular to the doorway and 18 inches (455 mm) beyond the latch side. For a basic front push-side approach, the table specifies 48 inches (1220 mm) perpendicular to the doorway, with additional latch-side space required in a stated closer-and-latch condition.
Those aren’t theoretical dimensions.
In the DOJ’s consent decree involving Craft LLC and 30 Hop LLC, the required corrective work specifically included providing 18 inches of maneuvering clearance at the latch side of an exterior hinged entrance door in the pull direction. Read the DOJ consent decree.
Another DOJ accessibility agreement involving Cobble Hill identified a restroom where a trash can and lavatory left only 16 inches inside a required 18-inch pull-side latch clearance at an in-swinging door. The DOJ agreement documents the condition.
Two inches.
That’s all.
And it was enough to become a documented accessibility issue.
So when someone asks me for the “best door swing direction,” my answer is simple: first find the direction that satisfies safety, accessibility, circulation, and code requirements; then engineer the hardware around it.
Why Door Hinge Handing Matters to Hardware Buyers
A door can still physically swing with the wrong purchasing logic behind it. That’s what makes this problem dangerous for OEM buyers: the error may remain hidden until tooling, machining, finishing, packing, or installation has already happened.
Hinge Geometry Has to Match the Real Door
At minimum, confirm:
Door handing
Door opening direction
Hinge jamb
Leaf dimensions
Hinge thickness
Barrel position
Screw-hole pattern
Mortise or non-mortise installation
Required opening angle
Door mass and load distribution
Frame or aluminum-profile geometry
Hardware interference
Finish
Corrosion environment
CHIER’s non-mortise hinge documentation, for example, specifically asks buyers to verify mounting dimensions, fixing-hole positions, leaf thickness, hinge configuration, opening direction, profile connection, and target load.
That is much more useful than ordering “one left hinge.”
For custom systems, CHIER’s OEM/ODM door and window hardware development also works from application information, drawings, samples, mounting dimensions, handing, and hardware interfaces rather than treating appearance as the entire specification.
The Lock and Handle Can Expose a Handing Error First
Suppose the hinge installation is physically reversible. Problem solved?
Not necessarily.
An asymmetric lever, handed lock function, multipoint gearbox, latch arrangement, access-control trim, or strike relationship can still depend on direction.
ASSA ABLOY notes, for example, that some asymmetrical lever designs cannot simply be reversed and therefore require left- or right-hand specification when ordering.
This is why a hinge schedule should be coordinated with the handle and lock schedule.
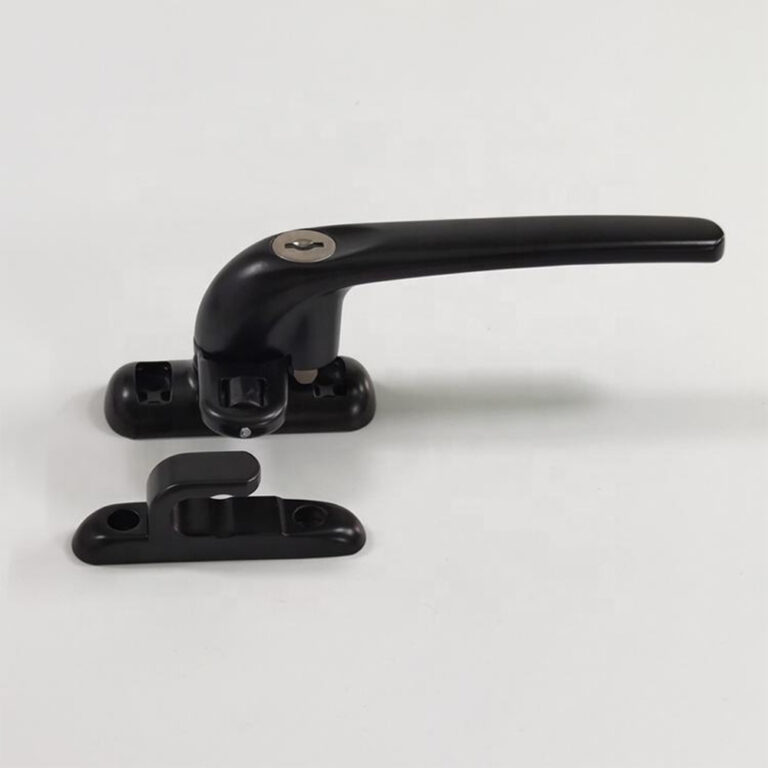
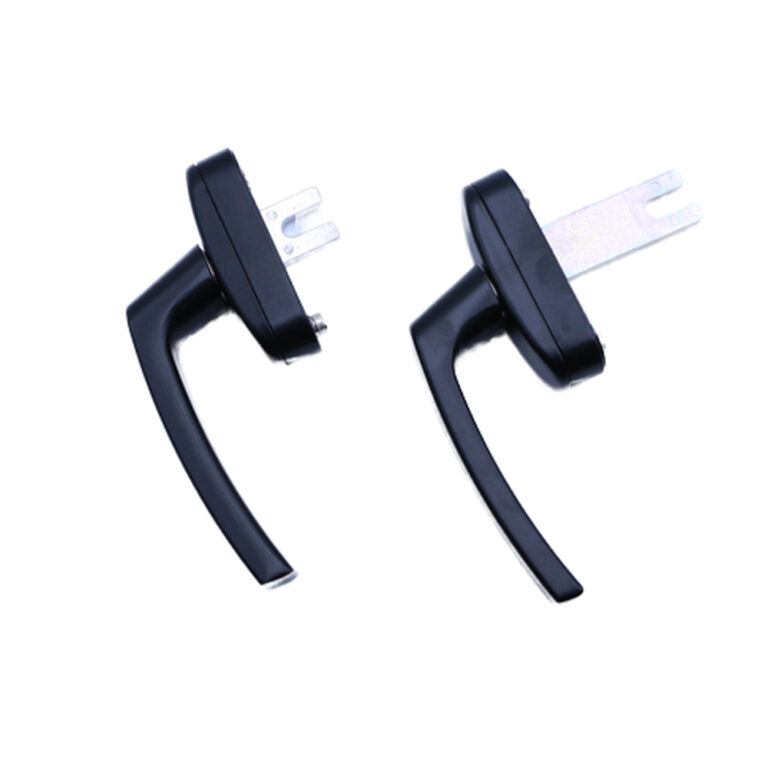
If you’re building a complete hardware set, review the door and window handle options alongside the hinge and lock interfaces rather than sourcing each component as a separate visual item. CHIER’s current range includes lever, pull, sliding, flush, locking, and other handle configurations for different profiles and applications.
The Specification Method I Recommend
I don’t like ordering doors from verbal descriptions.
“Left opening.”
“Opens outside.”
“Hinges right.”
All three can become ambiguous when the supplier and buyer are looking at opposite faces of the same door.
Instead, build a miniature technical record for every handed assembly.
Record the Door as a System
A clean specification can look like this:
Door ID: D-102 Reference side: Exterior / secure side Handing: LHR Opening: Toward reference side Door size: 900 × 2100 × 45 mm Hinge type: Butt hinge Hinge quantity: 3 Hinge size: Per approved drawing Maximum opening: 110° Lock: Mortise / multipoint model per schedule Closer: Model and mounting verified separately Finish: Matte black Drawing: Swing arc and hinge jamb shown Revision: Rev. B, approved before production
That level of detail feels excessive until a container of finished hardware arrives with the wrong handing.
Then it feels cheap.
Before sampling or releasing production, use CHIER’s door and window hardware technical downloads to request relevant model specifications, mounting information, dimension drawings, CAD/3D files, installation information, and available load or test documentation.
Do Not Approve From a Product Photo
A photo tells me very little about the hidden geometry of a door system.
It may not prove:
Exact hinge-leaf dimensions
Pin or barrel configuration
Load rating
Door preparation
Lock handing
Frame preparation
Opening limitation
Closer compatibility
Screw length
Profile wall thickness
Reinforcement
Required clearances
For replacement hardware, send the original component plus dimensional data whenever possible.
For a new system, send the door and frame section.
For OEM development, send the actual intended opening direction before tooling.
Simple beats rework.
Common Door Handing Mistakes I Would Reject Before Production
Mistake 1: Calling the Hinge Side Without Defining the Viewing Side
“Left hinge” isn’t enough.
Left from inside?
Left from outside?
Left while standing on the push side?
Define the reference position.
Mistake 2: Treating Inswing and LH/RH as Synonyms
They answer different questions.
One describes movement. The other is part of the handing convention.
Mistake 3: Assuming Every Piece of Hardware Uses the Door’s Hand
This is probably the nastiest one.
A closer, trim, lock, or exit device may have its own handing rules. Allegion explicitly shows that reverse-handed door and closer designations can differ.
Mistake 4: Selecting Opening Direction After the Floor Plan Is Finished
Door swing affects usable space.
It can intersect furniture, fixtures, another leaf, an accessible maneuvering zone, or an egress path. ADA requirements even regulate the distance between certain doors in series: the standard calls for at least 48 inches (1220 mm) plus the width of any door swinging into the space.
Mistake 5: Buying Hinges by Appearance
Black finish. Four holes. Correct width.
Still not enough.
The hinge has to match the load, mounting interface, door/frame geometry, opening requirement, material, finish system, and production tolerances. CHIER’s door hinge manufacturing and sourcing page reflects that wider specification approach.
FAQs
How do you determine door handing?
Door handing is determined by identifying the reference side of the opening, locating the hinges from that side, and then noting whether the leaf swings toward or away from you; in U.S. commercial hardware, this produces LH, RH, LHR, or RHR designations, subject to the hardware manufacturer’s own instructions.
For many commercial-hardware products, stand on the outside, secure, or key side. Find the hinges first, then record the swing. Don’t rely only on the location of the handle, and don’t release an order until the hardware manufacturer’s handing diagram agrees with your drawing.
What is the difference between a left-hand door and a right-hand door?
A left-hand door and right-hand door are distinguished by the hinge-side relationship viewed from the reference side defined by the relevant handing convention; under Allegion’s U.S. commercial-hardware method, hinges on the left identify a left-hand configuration while hinges on the right identify a right-hand configuration before swing type is added.
The second step is determining whether the swing is standard or reverse. That is what separates LH/RH from LHR/RHR.
What is the difference between an inswing and outswing door?
An inswing or outswing description identifies the direction in which a door travels relative to a defined space or reference side, while door handing additionally identifies the hinge relationship; because “inside” and “outside” can become ambiguous on interior openings, professional specifications should show both the reference side and a drawn swing arc.
For egress doors, don’t choose direction by convenience alone. OSHA requires certain workplace exit-route doors to swing in the direction of exit travel when serving rooms designed for more than 50 people or high-hazard areas.
What is the best door swing direction?
The best door swing direction is the direction that satisfies the applicable egress, accessibility, circulation, security, weather, hardware, and local-code requirements for that specific opening; there is no single inswing or outswing arrangement that is automatically best for every residential, commercial, industrial, or public building door.
For U.S. projects, check applicable OSHA, ADA, adopted building/fire codes, and the authority having jurisdiction. ADA maneuvering-clearance dimensions can change substantially between push-side and pull-side approaches.
Can door hinges be used for either left-hand or right-hand doors?
Some door hinges are effectively non-handed or reversible, while other hinge assemblies, spring mechanisms, concealed systems, profile-specific designs, or coordinated hardware packages can depend on installation direction, so compatibility must be confirmed from the exact hinge model, door geometry, opening direction, mounting arrangement, and manufacturer’s technical documentation before ordering.
Even when the hinge itself is reversible, the lock, lever trim, closer, latch, or frame preparation may not be. Treat the complete opening as one system rather than assuming a reversible hinge makes the whole door non-handed.
Specify the Door Before You Specify the Hinge
Door handing should be settled on paper, not discovered at the assembly bench.
Define the reference side. Mark the hinges. Draw the swing. Confirm LH, RH, LHR, or RHR where those terms apply. Then check the lock, handle, closer, hinge, strike, and frame preparation against the same approved opening drawing.
If you’re sourcing door hinges or developing a custom door hardware assembly, send CHIER the door/frame drawing, opening direction, handing requirement, hinge dimensions, target load, finish, quantity, and related lock or handle information. Review the available door hinge solutions first, then contact CHIER for a project-specific hardware review before sampling or production.