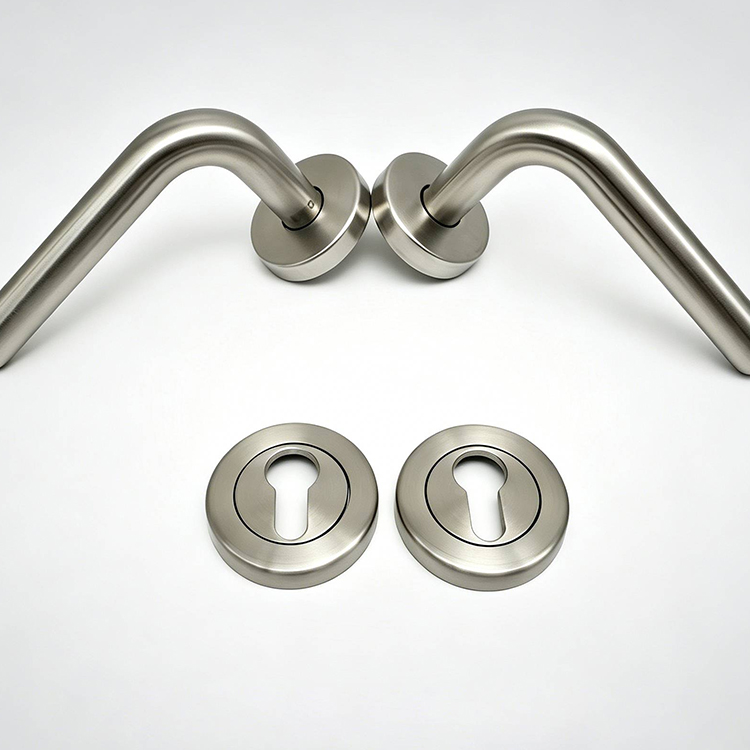
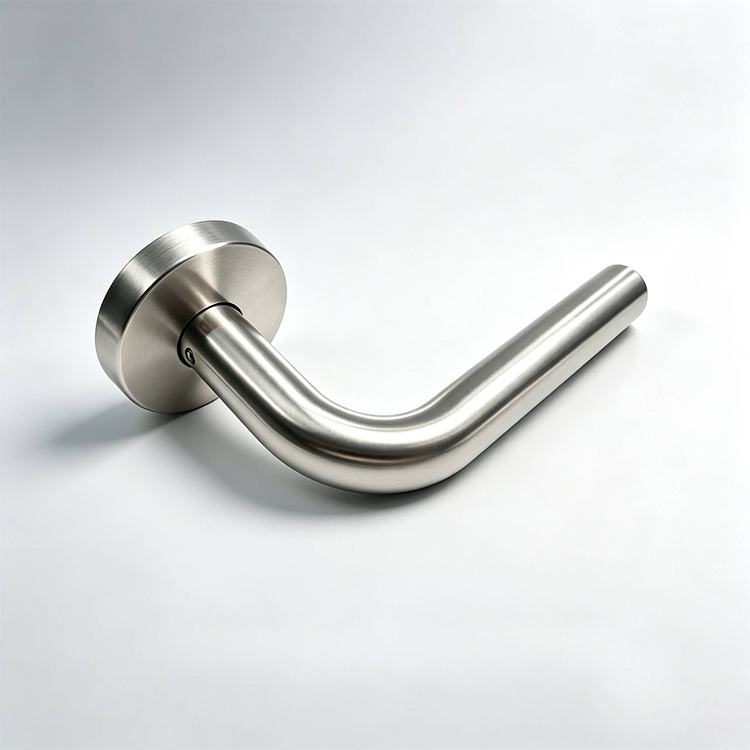
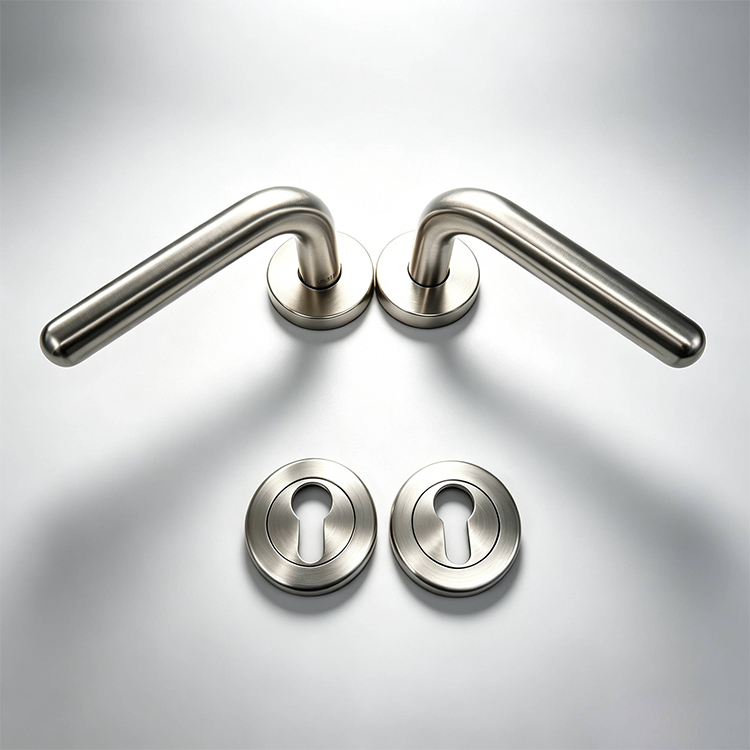
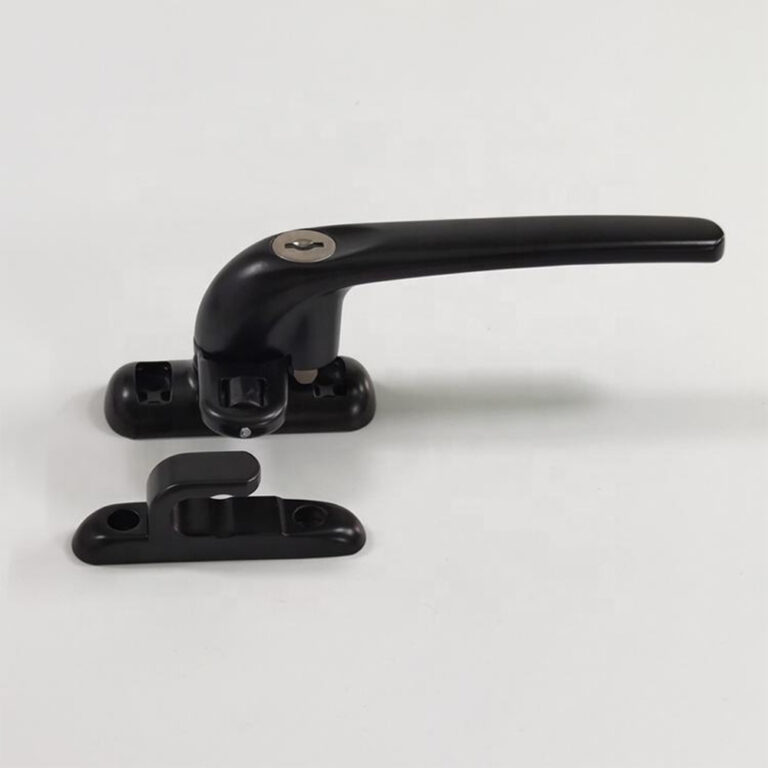
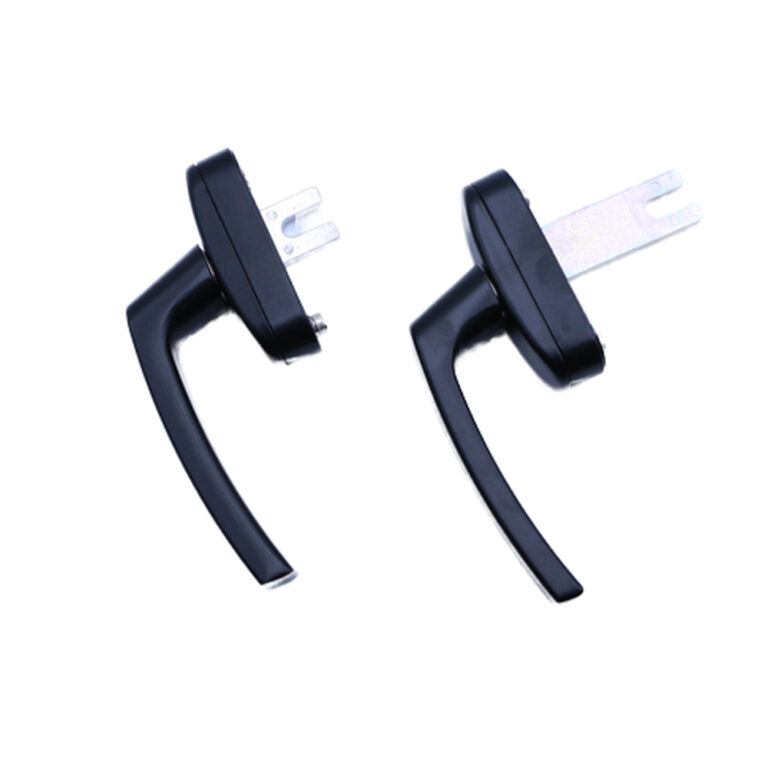
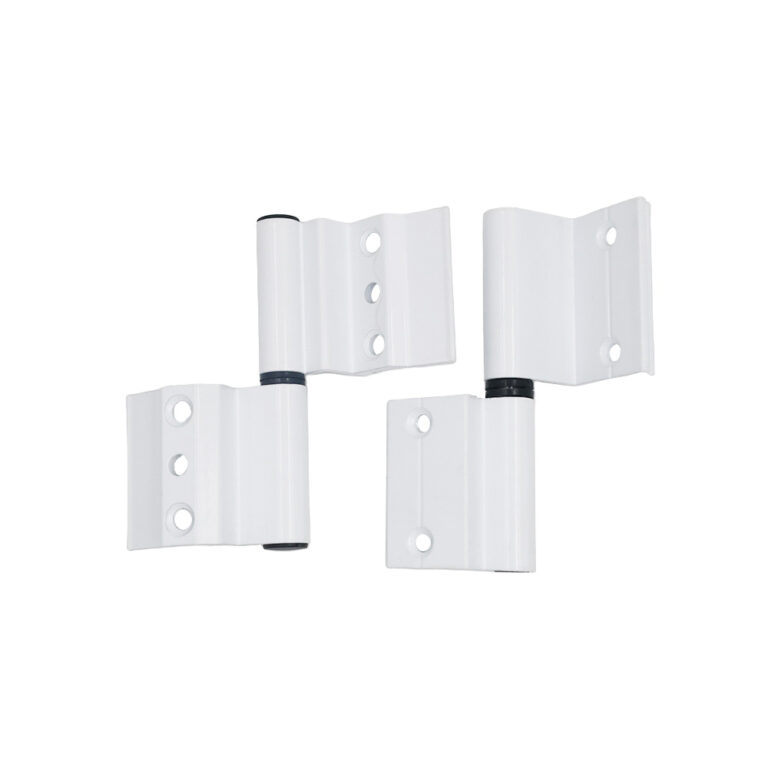
Looking for hardware solutions that meet European / American standards?
Use this guided inquiry modal to move from a generic quote form to a clearer technical conversation. Buyers can choose whether they need pricing, CAD / 3D files, or OEM / ODM support before sharing contact details.
Compatibility-first design across door / window systems
Repeatable production with clear inspection checkpoints
Documentation and change control for long-running programs
Responsive engineering support for fit and field feedback
Door handle clearance is the usable space that remains between a handle, the user’s hand and nearby objects such as frames, screens, wall returns or adjacent panels throughout the complete opening and closing cycle.
That last part matters: throughout the complete cycle.
Clearance gets missed.
A handle may look perfectly acceptable on a CAD elevation, yet once real profile thickness, gasket compression, fixing covers, coating build, panel movement, roller wear and the user’s knuckles enter the equation, a nominal 4 mm gap can disappear almost immediately.
Why approve hardware that only works while the door is standing still?
I would not.
The hard truth is that door handle projection is routinely treated as a product dimension when it should be treated as a system envelope. The handle body is only part of that envelope. A thumb turn, lever tip, fixing cap, user’s fingers or even panel deflection can become the true interference point.
That is why anyone specifying door handle options from CHIER should evaluate projection against the actual frame and panel arrangement rather than comparing handle dimensions in isolation.
Door Handle Projection Is Not the Same as Door Handle Clearance
These two terms are often mixed together. They should not be.
Door handle projection is normally the perpendicular distance from the door or mounting surface to the outermost part of the installed handle.
Door handle clearance is the remaining usable space between that installed hardware—or the hand operating it—and the nearest obstruction.
A 45 mm projecting handle can therefore be perfectly acceptable on one door and completely unusable on another.
Consider a hinged interior door opening into an empty corridor. A 60 mm lever projection may create no interference at all.
Put that same lever on a narrow-stile door next to an insect screen, fixed glazed panel or deep frame reveal and the situation changes immediately.
And sliding systems are less forgiving.
CHIER’s guide to common sliding handle problems and panel interference identifies frames, neighboring panels, insect screens, trim and even the user’s knuckles as possible interference points. That is exactly how professional buyers should think about clearance: not as one number, but as overlapping movement envelopes.
The five dimensions I would record first
Before approving a lever, pull or recessed handle, I would want at least these measurements:
Handle projection from the finished mounting surface
Distance from mounting surface to the nearest frame, screen or panel
Handle location relative to the panel edge or meeting stile
Required finger and knuckle space while gripping
Minimum clearance through the complete panel movement
Then I would add manufacturing and installation tolerance.
That last step is where cheap specifications usually fail.
A nominal 5 mm gap isn’t necessarily 5 mm after extrusion tolerance, gasket thickness, powder coating, fastener seating, roller adjustment and field installation have moved against you.
What Is the Minimum Door Handle Clearance?
There is no single universal minimum door handle clearance from every frame, screen or adjacent panel.
That deserves emphasis because search results often pretend otherwise.
Accessibility standards do regulate door clear opening, hardware position, operability and certain projections. But they do not give designers a universal number saying, for example, “every lever must remain 20 mm from an insect screen.”
For application-specific interference, the minimum is the clearance needed to prevent contact and preserve safe hand operation under real tolerances and movement.
The same Section 404.2.3 states that there can be no projection into the required clear opening below 34 inches (865 mm) above the finished floor, while projections between 34 and 80 inches (865–2030 mm) may extend no more than 4 inches (100 mm) into that required clear opening.
Do not misread that 4-inch figure.
It is not a universal maximum door handle projection. It regulates projection into the required clear opening under the ADA provision.
That distinction matters.
Door hardware itself is generally positioned with its operable portions 34 to 48 inches (865–1220 mm) above the floor, and covered operable parts must work with one hand without tight grasping, pinching or wrist twisting. The activating force limit is 5 lbf, or 22.2 N.
Again, note the wording: that 38 mm figure is an Access Board recommendation for usable gripping, not a blanket statutory gap between every lever and every frame.
Code clearance versus interference clearance
Measurement
What it controls
Reference or engineering basis
Common mistake
32 in / 815 mm minimum
Required clear door opening in applicable ADA conditions
ADA 404.2.3
Treating nominal door width as clear opening
4 in / 100 mm maximum
Certain projections into required clear width from 34–80 in above floor
ADA 404.2.3
Calling this the universal maximum handle projection
34–48 in / 865–1220 mm
Height of operable door hardware
ADA 404.2.7
Measuring to the wrong part of the handle
5 lbf / 22.2 N
Maximum activation force for covered operable parts
ADA 309.4
Confusing hardware activation force with every door-opening-force condition
1½ in / 38 mm
Recommended knuckle clearance for bars and pulls
U.S. Access Board guidance
Checking the metal part but not the user’s hand
Dynamic panel clearance
Prevents collision with frame, screen, stile or neighboring panel
Application-specific engineering
Checking only the stationary door
This is why I dislike specifications that simply state “minimum door handle clearance: 5 mm.”
Five millimetres from what?
Under which operating condition?
At which tolerance extreme?
With or without a hand on the handle?
A number without a reference geometry is barely a specification.
How to Measure Door Handle Projection Correctly
If you want to know how to measure door handle projection, start from the finished installed surface, not the raw extrusion or unassembled handle base.
Measure perpendicular to the door face until you reach the outermost point of the hardware in its most projecting operating position.
That could be:
The end of a lever
The crown of a pull handle
A thumb turn
A locking button
A fixing cover
A folded-out grip
A rotated operating lever
Do not automatically use the dimension printed on a sales drawing.
Verify the installed assembly.
Measure the handle in every operating position
This sounds obvious. Buyers still miss it.
A lift-and-slide handle may project differently after rotation. A folding handle can change its envelope completely when deployed. A thumb turn may extend beyond the main lever. A lock control may rotate toward an adjacent panel.
So I would document at least:
P0 = projection at rest
P1 = maximum projection during operation
And for sliding or overlapping panels:
Cmin = minimum physical clearance through complete travel
If P1 rather than P0 defines the maximum envelope, P1 controls the interference check.
Simple.
But not optional.
Add the hand envelope
The metal can clear while the knuckles hit.
That is failure.
The engineering check therefore needs two envelopes:
Hardware envelope: every moving and fixed component of the handle assembly.
User envelope: the realistic finger, thumb and knuckle space needed to grip and operate it.
This is one reason the comparison between a lever handle and pull handle cannot be reduced to appearance. A low-profile pull may solve panel interference but reduce finger depth; a long lever may improve leverage but create a larger swing or snag envelope.
Geometry always collects its debt somewhere.
Door Handle Clearance From Frames: Check the Worst Position, Not the Best
Frame interference usually appears near the latch stile, meeting stile or deep reveal.
A lever can strike the frame before reaching full rotation. A return-to-door lever may miss the frame but trap fingers behind the return. A thick escutcheon can move the grip outward enough to contact trim that cleared the prototype.
And tolerances stack.
Imagine a system with 52 mm of nominal available space between the handle mounting surface and a nearby obstruction.
The selected handle projects 38 mm.
On paper, that leaves 14 mm.
Looks comfortable.
Now imagine the installed system picks up:
3 mm from gasket or spacer build
2 mm from fixing/base seating variation
2 mm from roller wear or panel position
3 mm from frame installation variance
That illustrative 14 mm gap has effectively fallen to 4 mm before dynamic deflection or a user’s hand is considered.
I would reject it.
Not because 4 mm violates a universal door-handle rule—it doesn’t—but because the assembly has almost no tolerance reserve.
Static clearance is the industry’s favorite false comfort
When space is tight, buyers often jump directly to the thinnest handle they can find.
That can solve one problem and create another.
A recessed pull reduces projection, but finger depth may become poor. A flush pull might require a larger panel cutout. A fold-out handle may remain compact when stored but create a large operating envelope after deployment.
A touch-operated solution can reduce conventional handle projection in some sliding applications, and CHIER’s explanation of push-to-engage touch locks for sliding panels shows why panel-to-frame gap, backset, keeper offset and allowable projection still need to be specified together.
There is no free geometry.
Accessibility Evidence Shows Why Usable Hardware Is More Than a Design Preference
This is not merely an argument about premium hardware.
Accessibility enforcement has real financial consequences.
In September 2021, the U.S. Department of Justice resolved a case involving 38 multifamily housing complexes in North Carolina where alleged accessibility failures included door hardware. The required corrective work included installing lever handles and widening doorways; the later consent order required a $225,000 settlement fund plus $50,000 paid to the United States.
A separate DOJ settlement announced on August 16, 2021, covering four North Dakota apartment complexes and a rental office, required lever-handle installation, doorway modifications and other accessibility work. The defendants contributed $100,000 to a settlement fund, bringing the combined fund to $120,000, and paid a $5,000 civil penalty.
That case is useful because it destroys a lazy industry assumption: hardware shape and usable access are not decorative details once accessibility obligations apply.
And the affected population is not small.
The CDC’s July 16, 2024 disability data release reported that more than one in four U.S. adults—over 70 million people—reported having a disability in 2022. Among people aged 65 and older, prevalence was 43.9%.
So when someone tells me grip clearance is an edge case, I disagree.
Usability is mainstream engineering.
How I Would Calculate Working Door Handle Clearance
For a basic interference review, I would use this logic:
Available working clearance = minimum obstruction distance − maximum hardware/user envelope − tolerance and movement allowance
The critical word is minimum.
Do not plug nominal catalog dimensions into the formula and declare victory.
Step 1: Establish the obstruction envelope
Measure the closest position of:
Frame
Meeting stile
Fixed panel
Moving adjacent panel
Insect screen
Wall return
Blind or curtain hardware
Trim
Pocket lining
Step 2: Establish maximum hardware projection
Include:
Handle body
Lever at full travel
Thumb turn
Cylinder projection
Fixing caps
Spacers
Escutcheon
Lock controls
Step 3: Establish hand space
Use actual grip testing where practical.
A handle technically clearing another panel by 3 mm is meaningless if the user’s knuckles require another 20–40 mm of space.
The Access Board’s 38 mm knuckle-clearance recommendation for bars and pulls provides a useful reference point for accessible grip design, although project-specific evaluation still matters.
Step 4: Add tolerance stack-up
Include what can realistically change:
Extrusion tolerance
Handle manufacturing tolerance
Mounting-hole location
Gasket thickness
Coating thickness
Glass/panel position
Roller adjustment
Hinge adjustment
Frame installation
Fastener seating
Wear
Expected deflection
If you cannot identify your tolerance stack, you do not know your minimum clearance.
You only know the drawing gap.
Best Door Handle for Tight Clearance: Choose by System, Not Shape
The best door handle for tight clearance is the lowest-interference design that still provides adequate grip, required operation, structural fixing and lock compatibility across the complete door movement.
Sometimes that means a short lever.
Sometimes a recessed pull.
Sometimes a flush pull.
Sometimes a fold-out handle.
And sometimes the correct answer is to move the handle location instead of forcing another product into bad geometry.
For professional sourcing, I would compare these configurations:
Handle type
Projection tendency
Grip potential
Tight-clearance suitability
Main risk
Standard lever
Medium to high
Good
Moderate
Lever/frame collision during rotation
Return-to-door lever
Medium
Good
Moderate
Hand space behind return
Surface pull
Medium to high
Excellent
Low to moderate
Adjacent-panel interference
Low-profile pull
Low to medium
Good
Good
Reduced hand clearance
Recessed pull
Very low
Moderate
Excellent
Poor finger depth or large cutout
Flush pull
Minimal
Moderate
Excellent
Limited leverage
Fold-out handle
Low when stored
Good when open
Very good
Operating projection overlooked
Touch lock / push mechanism
Minimal external projection
Application-dependent
Very good for selected systems
Force, alignment and security-function limits
But I would never select purely from this table.
The actual answer depends on door mass, panel overlap, stile width, lock type, operating force, fixing structure and user requirements.
What Professional Buyers Should Put in the RFQ
A quotation request saying “black aluminum lever handle” is not enough.
Neither is “low-profile sliding handle.”
For an OEM program, send the geometry.
CHIER’s OEM/ODM hardware development process is built around drawings, samples, mounting interfaces and application requirements, which is the right direction for clearance-sensitive projects.
At minimum, I would specify:
Door type
Opening direction
Panel dimensions
Complete panel weight
Profile cross-section
Stile width
Panel thickness
Handle fixing centers
Maximum allowable handle projection
Minimum required hand clearance
Distance to frame
Distance to insect-screen stile
Adjacent-panel overlap
Lock or gearbox model
Backset
Spindle size
Handle rotation
Thumb-turn projection
Handing
Finish
Gasket or spacer thickness
Installation tolerance
Required accessibility standard
Target cycle requirement
Inspection method
Then send a section drawing.
Better yet, send the actual profile sample.
CHIER’s technical download center also provides access to model specifications, mounting dimensions, spindle and lock-interface information and available drawings. That paperwork should be reviewed before the golden sample is signed off.
Pretty photos sell handles.
Dimensions prevent claims.
Sample Approval Must Include a Real Interference Test
I would not approve a clearance-sensitive handle after checking it on a desk.
Install it.
Use the intended profile, lock, panel, screen and frame configuration.
Then run the door.
My minimum approval sequence would be:
Install the production-intent handle and fixings.
Measure actual projection at rest.
Measure maximum projection while operating.
Check handle-to-frame clearance.
Check handle-to-screen clearance.
Check handle-to-adjacent-panel clearance.
Operate the handle with a real hand on the grip.
Move every adjacent panel through full travel.
Repeat with the lock engaged and released.
Apply expected adjustment extremes.
Inspect for witness marks or contact.
Record measured minimum clearance in the approval report.
Then repeat after cycling if the application is sensitive.
Why?
Because a door that starts with 6 mm of clearance and finishes endurance testing with 2 mm is telling you something useful before thousands of units leave the factory.
Listen to it.
FAQs
What is door handle clearance?
Door handle clearance is the minimum usable space between a door handle, the hand operating it and nearby obstructions such as a frame, screen, wall return or adjacent panel, measured under the most restrictive position encountered during normal opening, closing, locking and unlocking of the complete door assembly.
It should not be confused with handle projection. Projection describes how far the hardware extends; clearance tells you how much usable space remains.
What is the minimum door handle clearance from a frame?
The minimum door handle clearance from a frame is the smallest gap that prevents the hardware and user’s hand from contacting or becoming trapped against the frame throughout normal operation, after manufacturing, installation, adjustment, wear and deflection are considered; there is no single universal frame-clearance dimension for every door system.
For accessible applications, separate ADA requirements concerning clear opening, hardware operation and maneuvering space may also apply.
How do you measure door handle projection?
Door handle projection is measured perpendicular from the finished door or panel surface to the outermost point of the fully installed hardware in whichever normal operating position produces the greatest extension, including moving levers, thumb turns, fixing covers or fold-out components that may project farther than the handle does at rest.
For production approval, record both resting projection and maximum operating projection.
How much knuckle clearance should a door handle have?
Knuckle clearance is the free space behind or around a handle that allows a user to grip and operate it without fingers or knuckles scraping, compressing or becoming trapped against the mounting surface or nearby hardware; U.S. Access Board guidance recommends about 1½ inches, or 38 mm, for bars and similar pulls.
Treat that figure as guidance in its stated context, not as a universal gap rule for every handle and frame combination.
What is the best door handle for tight clearance?
The best door handle for tight clearance is a lever, pull, recessed grip, flush pull or fold-out design whose maximum operating envelope clears every nearby frame, screen and panel while still providing sufficient grip, lock operation, fixing strength and applicable accessibility performance under the actual manufacturing and installation tolerances of the door system.
In overlapping sliding systems, a recessed or low-profile solution often performs better than a conventional projecting pull, but actual profile geometry decides the answer.
Can a door handle clear the panel but still be unsafe?
A door handle can physically clear an adjacent panel while remaining unsafe or uncomfortable if the user’s fingers or knuckles enter the collision zone, if tolerances can eliminate the nominal gap, or if the handle must be released before the door completes normal travel, making hand clearance part of the required operating envelope.
That is why I recommend dynamic testing with a hand on the installed grip rather than checking handle dimensions alone.
Your Next Step: Approve the Clearance Before You Approve the Handle
Do not order a door handle because its projection “looks close enough.”
Measure the system.
Send the profile section, panel arrangement, frame dimensions, screen location, lock interface, maximum permitted projection and required hand clearance to the supplier before approving the model.
Then demand an installed sample test.
If you’re developing a sliding, hinged or narrow-stile door where the handle sits close to a frame, insect screen or adjacent panel, review CHIER’s door handle range and OEM/ODM engineering process, and provide the actual cross-section rather than a product photo.
A few millimetres on a drawing can decide whether a handle feels engineered or defective.