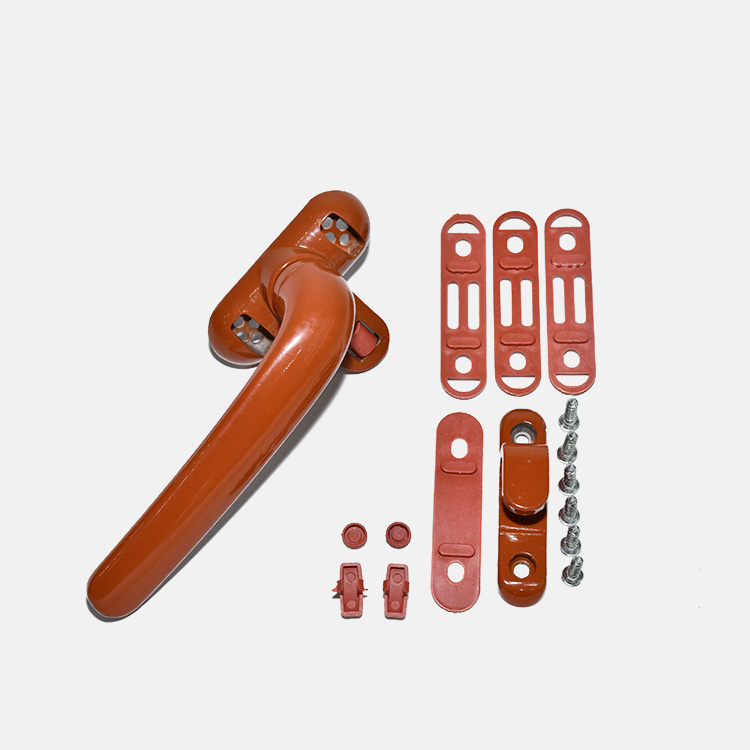
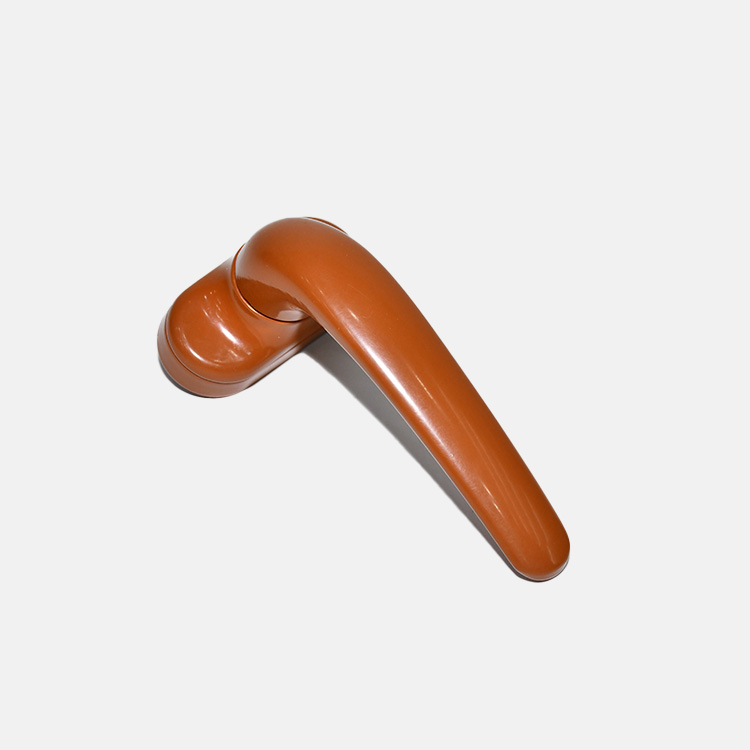
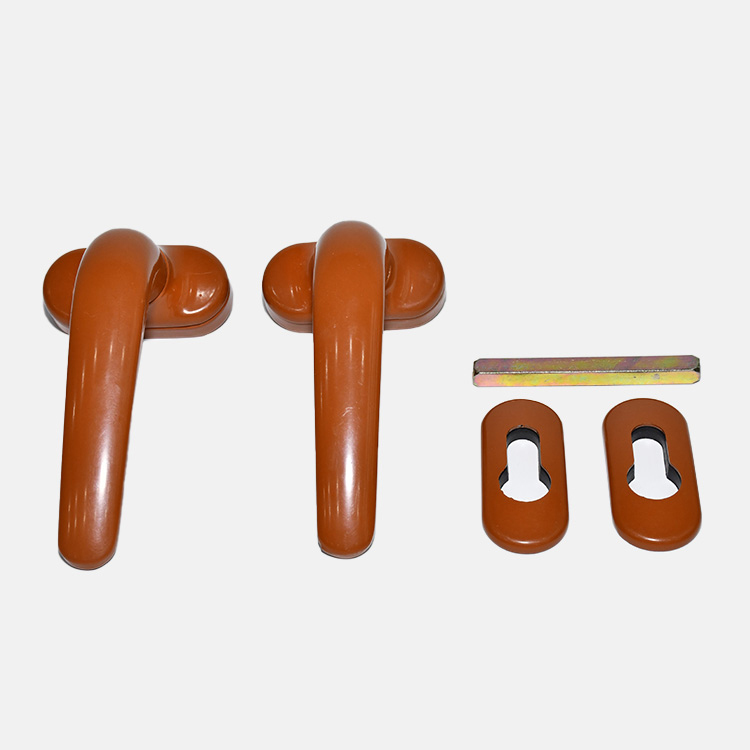
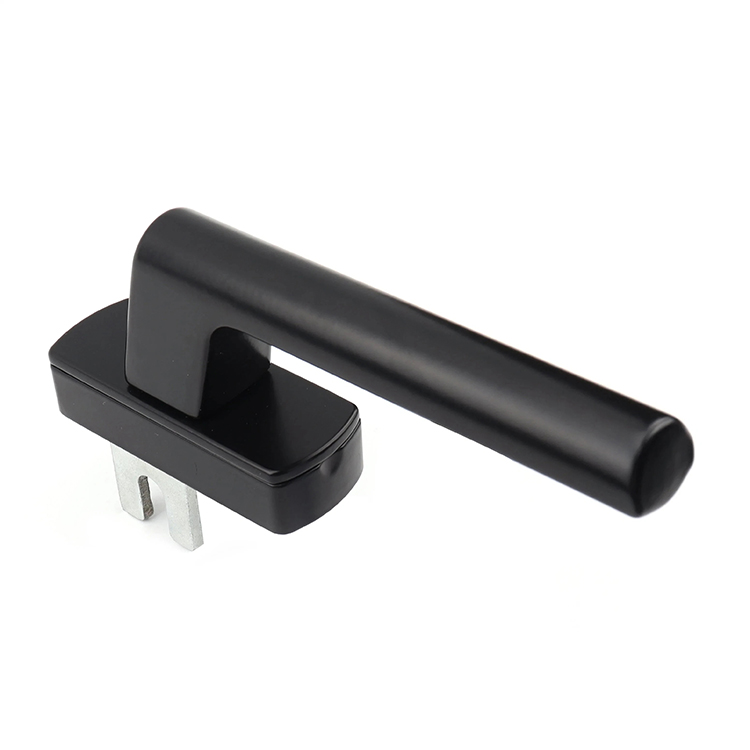
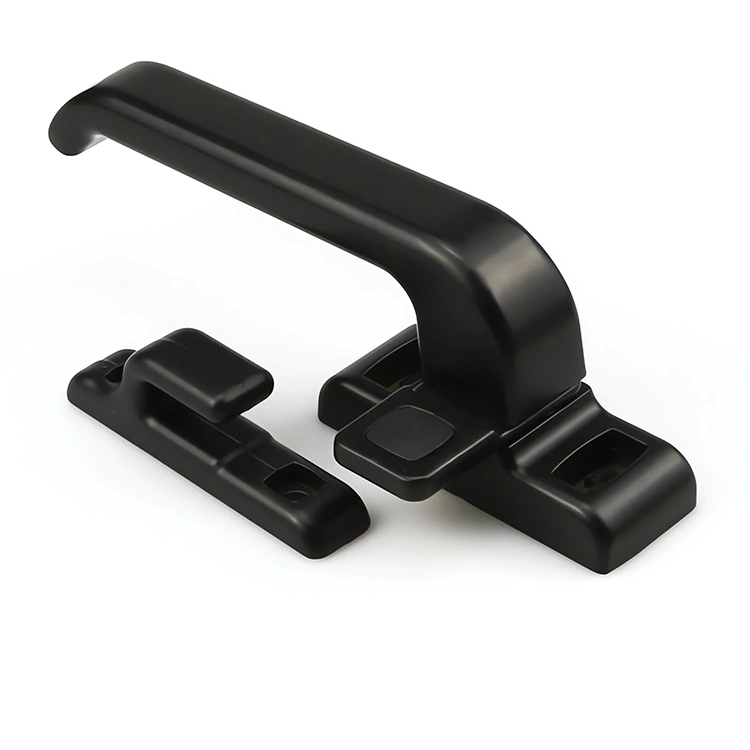
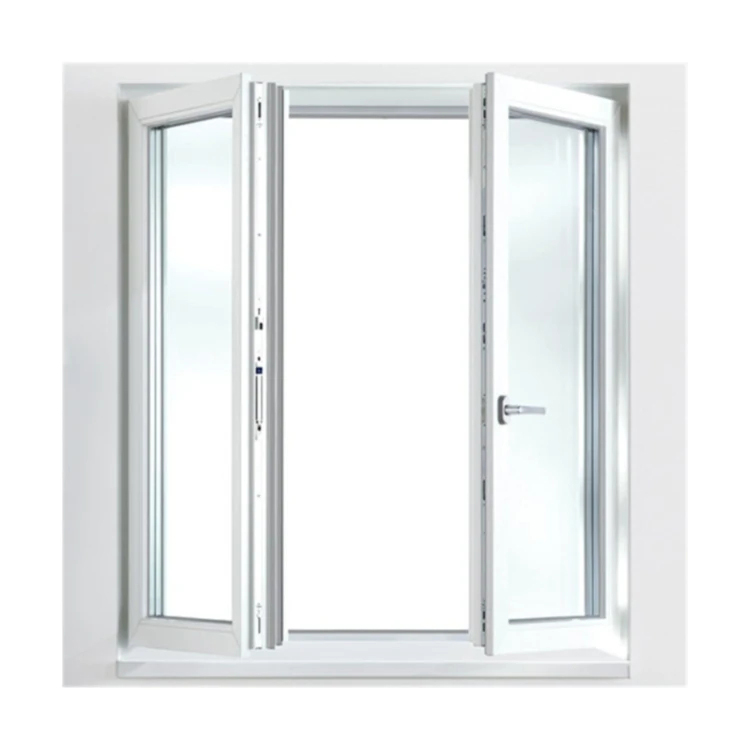
Looking for hardware solutions that meet European / American standards?
Use this guided inquiry modal to move from a generic quote form to a clearer technical conversation. Buyers can choose whether they need pricing, CAD / 3D files, or OEM / ODM support before sharing contact details.
Compatibility-first design across door / window systems
Repeatable production with clear inspection checkpoints
Documentation and change control for long-running programs
Responsive engineering support for fit and field feedback
A replacement window handle may have the right finish, the right general shape and even the familiar 43 mm screw spacing, yet still foul a blind, miss the gearbox, expose old fixing marks or bind because its spindle projects several millimetres too far.
Why gamble?
To measure a window handle correctly, record four dimensions: the exposed spindle length, the centre-to-centre distance between fixing screws, the width and height of the mounting base, and the handle’s projection from the window frame. Then confirm the spindle width, handle type, handing and locking function.
That is the practical answer. But the details matter.
The Four Measurements That Decide Whether a Handle Fits
The basic window handle measurements are simple enough to take with a steel rule or digital caliper. The problem is that people often measure from the wrong surfaces.
Measurement
Where to measure
What it controls
Common mistake
Spindle length
From the rear face of the handle base to the spindle tip
Engagement with the espagnolette gearbox
Measuring the entire handle body and spindle together
Fixing centres
From the centre of one screw to the centre of the other
Alignment with existing threaded holes
Measuring from the outer edges of the screw heads
Base dimensions
Maximum height and width of the mounting plate
Frame fit, old-mark coverage and clearance
Assuming every 43 mm handle has the same base
Handle projection
From the mounting surface to the furthest outward point
Clearance from blinds, curtains, reveals and adjacent hardware
Measuring lever length instead of outward projection
For many modern espagnolette—or “espag”—handles, 43 mm fixing centres and a 7 mm square spindle are common. They are not permission to stop measuring.
The Glutz 5039/5616 CF specification, for example, pairs 43 mm fixing centres with a 7 × 38 mm spindle. Randi supplies some window handles with the same 43 mm centres but offers spindle lengths of 35, 43, 53 or 63 mm and either 7 × 7 mm or 8 × 8 mm spindle sections. One dimension can match while another quietly ruins the replacement. Glutz’s technical product data and Randi’s window handle specifications make that variation explicit.
Identify the Window Handle Before Measuring It
Do not begin with the tape measure. Begin with the mechanism.
A buyer who confuses a cockspur handle with an espag handle does not have a measurement problem. They have selected the wrong product family.
Espag window handles
An espag handle uses a square spindle to operate an internal espagnolette gearbox or shoot-bolt system. It is common on uPVC, aluminum and some timber casement windows.
Typical identifying features include:
A square spindle projecting from the rear
Two fixing screws positioned above and below the spindle
Inline or cranked lever geometry
Key-locking, push-button or non-locking operation
Often, but not always, 43 mm fixing centres and a 7 mm spindle
The CHIER door and window handles range shows why “window handle” is too broad a buying description: casement, spindle, fork, sliding and other configurations sit within the same product category but use different interfaces.
Cockspur handles
A cockspur handle closes by pushing a projecting nose or spur over a wedge fixed to the frame. There may be no square operating spindle at all.
For this type, measure:
Fixing-hole pattern
Base dimensions
Spur height or step height
Nose position
Left- or right-hand orientation
Clearance over the frame wedge
Trying to substitute an espag handle because the base “looks about right” is bad practice. The mechanisms do different jobs.
Tilt-and-turn handles
Tilt-and-turn systems may also use 43 mm fixing centres and a square spindle, but operating positions, lock logic and spindle engagement must match the complete window system.
Some models include tilt-before-turn, lockout or restricted-operation functions. A generic handle can physically attach and still defeat the intended operating sequence.
Fork, blade and proprietary handles
Fork or blade handles connect to the lock through a shaped drive component rather than a conventional square spindle. Photograph the drive from the rear, record every dimension and identify the original system where possible.
The hard truth? “Close enough” does not exist at a mechanical interface.
How to Measure a Window Handle Step by Step
Remove the existing handle before recording the spindle and fixing pattern. You cannot measure the hidden interface accurately while the handle remains attached.
Keep the window closed or otherwise safely supported before removing operating hardware. Do not leave an upper-floor opening unsecured.
1. Remove the existing handle without damaging the profile
Turn the handle to expose its fixing screws. Depending on the design, you may need to rotate or lift a decorative cover plate.
Remove the screws by hand with the correct screwdriver bit. I prefer hand tools here because a powered driver can strip a worn head, crack a plastic cover or pull a threaded insert loose before you realise the screw is binding.
Pull the handle straight away from the sash. Avoid twisting it aggressively; the spindle may still be engaged in the gearbox.
Keep the original screws.
But do not assume you should reuse them. Screw diameter, thread, head form and usable length must suit the replacement base and the existing reinforcement or gearbox.
2. Measure the window handle spindle length
The spindle is the square metal bar extending from the rear of an espag or tilt-and-turn handle.
Measure from the flat rear mounting face of the base—not from a raised decorative cover—to the end of the metal spindle. This is the exposed spindle length or spindle projection.
Record the figure in millimetres. A digital caliper is best, but a rigid rule is adequate when the spindle end is square and undamaged.
For example:
15 mm = 0.59 in
30 mm = 1.18 in
40 mm = 1.57 in
43 mm = 1.69 in
55 mm = 2.17 in
Do not round 17 mm down to 15 mm merely because 15 mm appears in a product menu. Check how deeply the existing spindle engages and whether the proposed replacement is designed to be cut or interchanged.
The ERA Maxim Universal Multi-Spindle handle is supplied with 9, 15, 30, 43 and 55 mm pre-cut spindles. ASSA ABLOY’s Mila Universal handle uses five interchangeable spindle lengths covering 15–55 mm. These products solve a real compatibility problem, but they do not make every other dimension universal. ERA’s Maxim handle specification and ASSA ABLOY’s Mila product data confirm the available spindle options.
Also measure the spindle section. The common uPVC espag size is 7 × 7 mm, or approximately 0.276 × 0.276 inches, but 8 × 8 mm versions exist.
A 7 mm spindle rattling in an 8 mm input is not “nearly right.” It is clearance where positive drive should be.
3. Measure the window handle fixing centres
Fixing centres are measured from the centre of one fixing screw to the centre of the other.
Not edge to edge. Not screw-head to screw-head. Centre to centre.
When both screw holes are the same diameter, an easy method is to measure from the left edge of the upper hole to the left edge of the lower hole. Measuring matching edges produces the same centre-to-centre result and is often easier than estimating the middle of each opening.
Many espag handles use 43 mm fixing centres. That equals approximately 1.69 inches. Manufacturer specifications from Glutz and Randi support 43 mm as a widely used configuration, while also showing that spindle sizes and lengths still vary.
So yes, 43 mm is common.
No, it is not a complete specification.
If the handle uses three, four or asymmetrical holes, draw the pattern on paper and record the horizontal and vertical distance between every centreline. A photograph with a rule in frame also helps a supplier understand the orientation.
4. Measure the window handle base dimensions
Measure the maximum width and height of the base or backplate where it contacts the window sash.
Then record:
Base width
Base height
Corner radius
Cover-plate size
Screw-cover position
Distance from the spindle centreline to each edge
Any raised boss entering the profile
Gasket thickness, when present
Why so much detail?
Because two handles can share a 43 mm fixing pattern while using visibly different bases. A replacement with a narrower plate may expose discoloration, compressed gasket marks, old paint lines or machining around the previous handle.
A wider base creates a different problem. It may overhang a narrow aluminum profile, contact a glazing bead or sit across a curved surface instead of mounting flat.
For model-specific drawings, the CHIER technical download centre is the more reliable internal route than guessing from product photographs; it separates mounting-centre drawings, base dimensions, spindle information and CAD files by product family.
5. Measure the window handle projection
Projection is the perpendicular distance from the mounting surface of the sash to the outermost point of the installed handle.
Place a straightedge across the furthest point of the lever, parallel with the window surface. Measure back to the plane where the handle base meets the sash.
Record the handle position used for the measurement:
Closed
Open at 90 degrees
Tilt position
Maximum operating sweep
“Projection: 45 mm” is meaningless when nobody states whether the lever was closed or extended.
Projection matters when a window sits behind:
Venetian blinds
Roller blinds
Shutters
Curtains
Deep reveals
Insect screens
Secondary glazing
Closely adjacent opening sashes
This is where many replacement guides become lazy. They treat projection as cosmetic, yet an extra 8–12 mm can make a blind catch every time the window is operated.
6. Record handing, offset and lever direction
Inline espag handles usually work on left- or right-opening windows because the lever aligns with the spindle centreline.
Cranked handles are different. Their lever bends or offsets to one side, so handing and clearance can matter.
Stand inside the building and photograph the closed handle. Record:
Which side the window hinges are on
Which direction the lever points when locked
Whether the lever offsets left or right
Whether the replacement must be left-handed, right-handed or reversible
The required operating rotation
Do not trust product images alone. Sellers may photograph one hand and supply another variant under the same listing.
A Measurement Record a Supplier Can Actually Use
I would send a supplier the following schedule rather than a message saying, “I need the same black handle.”
Specification field
Example entry
Window type
Side-hung uPVC casement
Handle system
Inline espag
Spindle section
7 × 7 mm
Exposed spindle length
30 mm
Fixing centres
43 mm
Base size
65 × 17 mm
Closed projection
52 mm
Lever direction when locked
Down
Handing
Reversible
Locking function
Key-locking
Finish
Matte black
Screw specification
M5; length to be confirmed
Quantity
200 units
Supporting files
Front, rear and installed photographs
This format works for a single household replacement and scales into an OEM request.
For larger programs, the CHIER OEM/ODM window handle process asks buyers to match bases, mounting centres, spindles or forks, handing and lock interfaces to the actual profile before production release. That is the right order. Geometry first. Finish later.
Compatibility Checks That Measurements Alone Do Not Solve
A handle can match every number in your notebook and still be the wrong replacement.
Check the gearbox before blaming the handle
With the old handle removed, inspect the square gearbox input. Look for:
Rounded internal corners
Metal fragments
Excessive movement
Corrosion
Cracked plastic guides
A spindle broken inside the gearbox
Resistance when the mechanism is operated carefully
If the original handle turned without moving the locking points, the handle may not be the failed component. A worn or broken gearbox can make a new handle feel loose from day one.
I dislike the industry habit of selling handles as isolated objects. The user turns a handle, but the resulting load travels through the spindle, gearbox, rods, cams, keeps, gaskets, frame and sash.
A replacement handle may include screws intended for another profile depth.
Screws that are too short may engage only a few threads. Screws that are too long can bottom out, distort a gearbox casing, contact moving components or give a false impression that the base is tight.
Compare:
Thread diameter
Thread pitch
Head diameter
Head shape
Original installed length
New base thickness
Available fixing depth
Do not shorten structural or machine screws casually unless the supplier permits it and the cut end can still start cleanly.
Check the lock function
Match the original operating requirement:
Non-locking
Push-button
Key-locking
Child-resistant
Tilt-before-turn
Restricted opening
Fire or emergency-escape function
A key-locking handle is not automatically a complete security solution. And a lock is not a substitute for a properly specified window restrictor where fall prevention is required.
Check material and exposure
A measurement-perfect handle can still be a poor choice for a coastal, poolside or high-cleaning environment.
Confirm the body material, spindle material, fasteners, finish system and exposure class. The phrase “aluminum alloy” does not tell you the casting route, pretreatment, coating thickness or galvanic pairing.
A badly fitted handle is irritating. A badly controlled window opening can be far worse.
The U.S. Consumer Product Safety Commission reported in April 2026 that an estimated 5,600 children aged 12 and under received emergency-department treatment in 2024 after falling from windows. About one-third required hospitalization, and CPSC was aware of at least 25 child deaths from window falls between 2021 and 2023. Read the CPSC’s 2026 Window Safety Week release.
Those numbers deserve more attention than another argument about satin chrome versus matte black.
The UK Health and Safety Executive advises that openings intended to protect people at risk should generally be restricted to 100 mm or less, equivalent to approximately 3.94 inches, with disengagement requiring a special tool or key where appropriate. Review the HSE guidance on falls from windows.
And there is a real warning behind the guidance. A UK Department of Health alert followed an incident in which a patient died after falling from a second-floor hospital window; the restrictor could be forced beyond the intended 100 mm limit. The government safety alert states plainly that nominal restriction is not enough if the installed device cannot resist foreseeable force.
This does not mean a replacement window handle must solve every safety risk. It means the person replacing the handle must not accidentally disable a restrictor, defeat an operating sequence, create unreliable locking feedback or assume that a key-locking lever makes the entire opening safe.
For commercial, healthcare, education or multi-unit housing work, compare the proposed hardware against the project’s documented requirements and the CHIER aluminum window hardware compliance guide. Component fit and assembly compliance are related, but they are not the same claim.
FAQs
What measurements do I need for a replacement window handle?
The measurements needed for a replacement window handle are the exposed spindle length, spindle width, centre-to-centre fixing-screw distance, mounting-base height and width, and outward handle projection, together with the handle type, handing, offset and locking function. These values establish mechanical engagement, hole alignment, frame coverage and operating clearance.
Photograph the installed handle, its rear interface and the window profile. For espag handles, also confirm whether the spindle is 7 × 7 mm or 8 × 8 mm.
How do I measure window handle spindle length?
Window handle spindle length is the distance from the flat rear mounting face of the handle base to the end of the projecting square metal bar. Remove the handle, place a rule or caliper against the rear face, and record only the exposed spindle in millimetres, excluding the handle body.
Do not measure from the front cover plate. Also check the spindle’s square section because identical lengths do not guarantee identical gearbox engagement.
How do I measure window handle screw centres?
Window handle screw centres are measured from the exact centre of one fixing hole to the exact centre of the other fixing hole. When both holes have equal diameters, measuring between matching edges—left edge to left edge, for example—produces the same centre-to-centre dimension and reduces estimation error.
A 43 mm distance is common on espag handles, but the base, spindle, handing and function still need separate verification.
Are all uPVC window handles 43 mm?
Not all uPVC window handles use the same interface, although many modern espagnolette handles use 43 mm fixing centres with a 7 mm square spindle. Cockspur, fork, blade, tilt-and-turn and proprietary systems may use different mounting patterns, drive connections, step heights, spindle lengths or operating functions, so identify the mechanism first.
Even among 43 mm espag handles, manufacturers offer different spindle projections, base widths, lever offsets and locking options.
What is window handle projection?
Window handle projection is the perpendicular distance from the window’s mounting surface to the handle’s furthest outward point in a stated operating position. It determines whether the lever clears blinds, curtains, shutters, deep reveals, secondary glazing and nearby sashes, and it should not be confused with the lever’s overall length.
Always state whether you measured projection with the handle closed, open at 90 degrees or in its maximum operating position.
Can I cut a replacement window handle spindle?
A replacement spindle may be cut only when its manufacturer allows shortening and sufficient engagement will remain inside the gearbox after cutting. The finished end must stay square, straight and free from burrs; an undersized, angled or poorly deburred spindle can bind, wobble or provide too little contact area for reliable operation.
An interchangeable multi-spindle handle is usually a cleaner option when the required length falls within the supplied range.
Measure Once, Specify Clearly, Then Source
Do not order from appearance alone.
Remove the old handle. Identify its operating system. Measure the exposed spindle, fixing centres, base and projection in millimetres. Confirm spindle width, handing, screw specification and locking function. Photograph everything.
Then test the replacement on the real window before committing to volume.
For a one-off repair, that process prevents a frustrating return. For an OEM, distributor or window-system program, it prevents incorrect machining, exposed fixing marks, lock damage, blind interference and repeat-order drift.