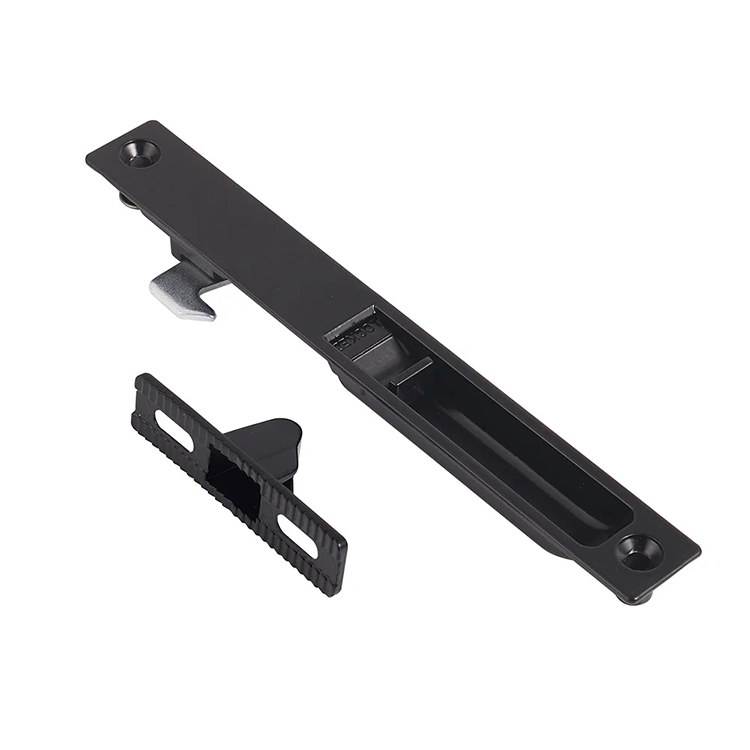
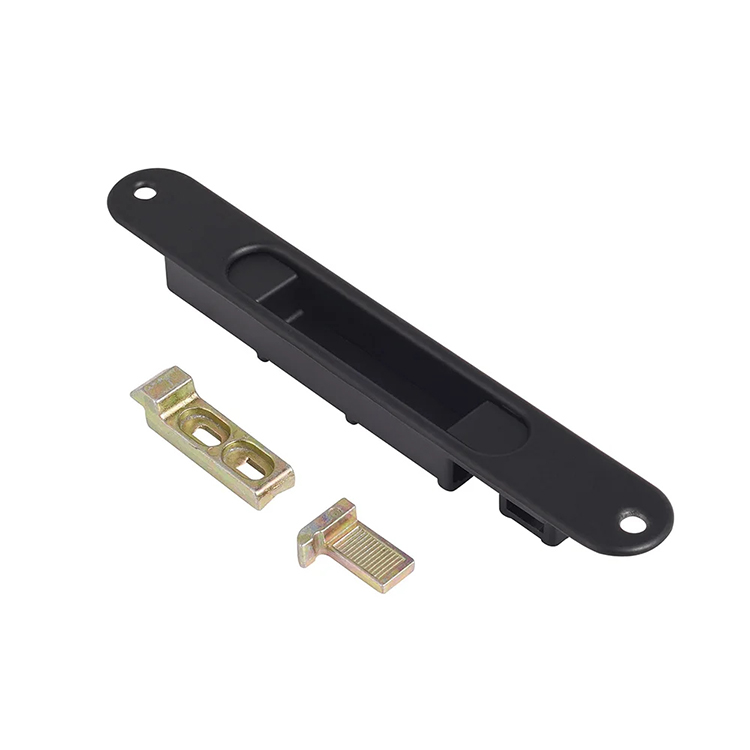
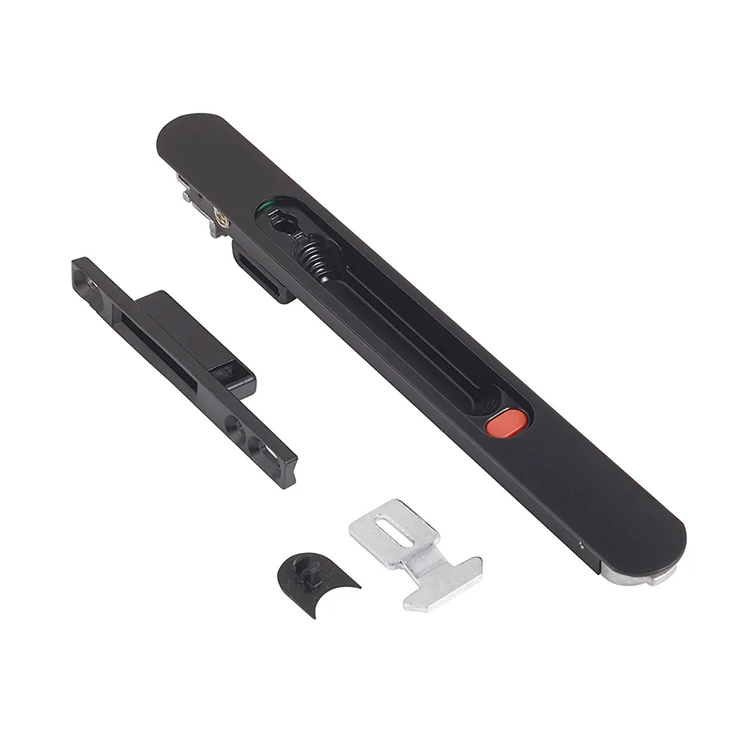
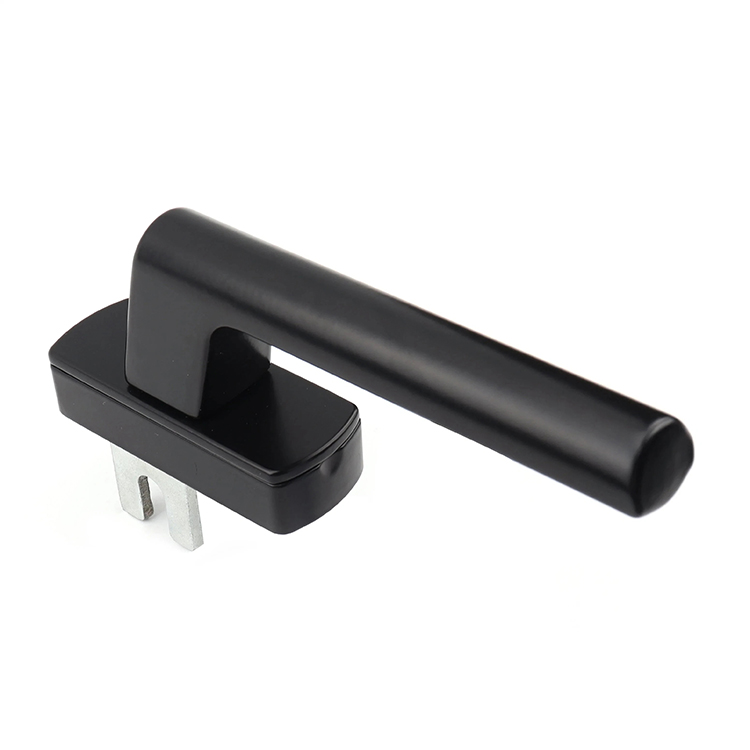
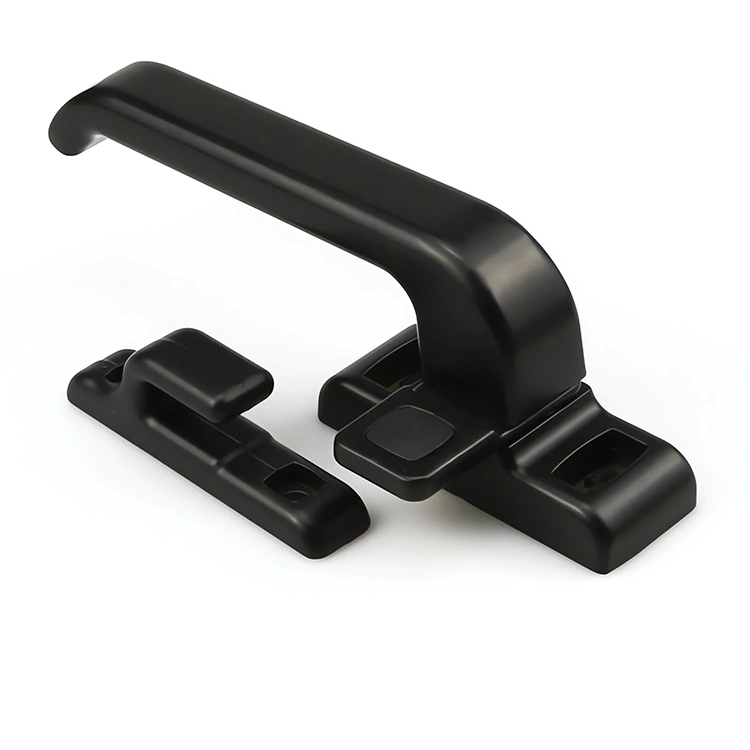
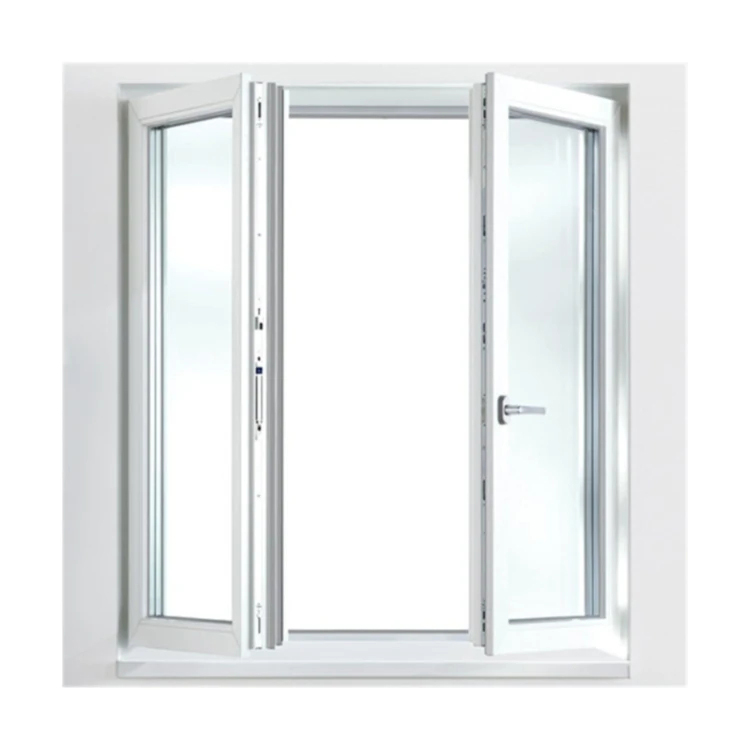
Looking for hardware solutions that meet European / American standards?
Use this guided inquiry modal to move from a generic quote form to a clearer technical conversation. Buyers can choose whether they need pricing, CAD / 3D files, or OEM / ODM support before sharing contact details.
Compatibility-first design across door / window systems
Repeatable production with clear inspection checkpoints
Documentation and change control for long-running programs
Responsive engineering support for fit and field feedback
A hard-to-turn window handle is not a diagnosis. It is evidence.
When a lock that once moved smoothly begins resisting the user, the visible handle often takes the blame, even though the real fault may sit several components away—in a dropped sash, an incorrectly positioned keeper, a compressed gasket, a loose hinge, a distorted profile, or contaminated transmission hardware.
So why replace the handle first?
Because it is visible. That is not the same as being responsible.
My working rule for window lock repair is simple: never judge the lock until you have tested the mechanism with the sash open and closed. That one comparison separates many mechanical failures from alignment and compression problems within seconds.
If the handle operates smoothly while the sash is open but becomes stiff when the window closes, the lock mechanism is probably being loaded by the frame, keeper, gasket, or sash position. If it remains stiff while open, contamination, corrosion, internal wear, incorrect spindle engagement, or inadequate lubrication becomes more likely.
That distinction saves time, hardware, and arguments.
A Stiff Window Lock Is Usually an Assembly Problem
Window locking systems work as connected assemblies. A lever moves a spindle or fork. That interface drives a gearbox, cam, rod, bolt, sweep, or transmission. The moving element then enters a keeper fixed to the frame.
Every component has a position.
A basic crescent sash lock may involve only a lever, rotating sweep, keeper, and several screws. An espagnolette or multipoint system can include a 7 mm square spindle, 43 mm fixing centers, a gearbox, faceplate, rods, roller cams, mushroom cams, corner drives, several keepers, hinges, and EPDM or TPE seals.
Those common 7 mm and 43 mm dimensions are conventions, not universal rules. Spindle depth, gearbox backset, cam travel, keeper height, and profile geometry still need verification. The broader distinctions between these mechanisms are explained in CHIER’s guide to sash, cam, crescent, espagnolette and multipoint window locks.
A 2 mm keeper error can be enough to create trouble. The lock may still engage during a gentle sample inspection, yet require excessive force after powder coating, gasket installation, frame movement, fastener settling, and normal production variation are added.
The hard truth is that tolerance stack-up is cumulative. It does not care which supplier receives the complaint.
The fastest diagnostic test
Open the sash and operate the lock several times without engaging the frame keepers.
A smooth open-sash action points away from an internally damaged gearbox. Resistance that appears only during closing usually indicates one or more of the following:
The keeper is too high, low, deep, or shallow.
The sash has dropped at the handle side.
A hinge or friction stay is loose, bent, or contaminated.
A roller or mushroom cam has been adjusted too aggressively.
The weather seal is creating excessive compression.
Paint, powder coating, debris, or sealant has reduced clearance.
The frame was installed out of square.
The sash is bowed or twisted.
The lock rod is contacting the profile channel.
This is why I dislike the phrase “faulty lock” when no assembly test has been completed. It sounds decisive while proving almost nothing.
Buyers comparing mechanisms can review CHIER’s casement lock options and window sash lock configurations to see how keeper position, cam reach, lever clearance, screw spacing, and available profile depth change from one design to another.
Alignment: The Most Common Cause of a Hard-to-Turn Window Handle
Window lock alignment describes the positional relationship between the sash-mounted locking elements and their frame-mounted keepers. The parts must meet at the correct height, depth, angle, and travel position.
They rarely fail dramatically at first.
Instead, the handle becomes slightly heavier. A user begins lifting the sash with one hand while turning the lever with the other. Someone forces the handle through its final 10 degrees. The screws loosen. The gearbox follower wears. Then the handle breaks, and everyone concludes that the handle was weak.
The handle may have been the last part to fail. It was not necessarily the first defect.
Sash drop changes the whole locking path
Casement and awning sashes place weight on hinges or friction stays. With repeated operation, wind loading, loose screws, frame movement, or insufficient hinge capacity, the sash may settle.
Even a small vertical shift changes how rollers, cams, hooks, or bolts approach their keepers. The upper locking point may strike the keeper edge while the lower point enters correctly. The user then forces one handle to overcome two different alignment conditions.
A multipoint lock makes this harder to diagnose because several contacts occur during one lever movement. More locking points do not automatically mean better performance. They create more opportunities for friction and positional error.
Keeper errors often masquerade as gearbox problems
Mark the locking elements with a removable marker, close the sash gently, and operate the handle without forcing it. Contact marks can show whether a roller is hitting the keeper face rather than entering its channel.
Inspect the keeper screws too. A keeper can shift under repeated load, particularly when short fasteners are installed into a thin or poorly reinforced profile.
For sash locks, check:
Sash overlap
Keeper height
Sweep engagement depth
Screw-hole centers
Cam reach
Lever clearance
Base position
Meeting-rail contact
For casement and espagnolette systems, also check:
Compression: A Good Seal Can Still Be Set Too Tight
A window lock is often expected to perform two jobs. It must secure the sash, and it must pull the sash against the weather seal.
That second job creates resistance.
EPDM, or ethylene propylene diene monomer, and thermoplastic elastomer seals are designed to deform under load. This controlled compression helps limit air and water movement. But more compression is not automatically better.
Too little compression can produce drafts, rattling, and inconsistent seal contact. Too much can increase handle torque, deform the gasket, overload the gearbox, loosen keepers, bend rods, and teach users to force the hardware.
A lock is not a clamp.
The U.S. Department of Energy states that weatherstripping is used on movable components such as operable windows and that reducing uncontrolled air leakage can lower heating and cooling costs, improve comfort, and increase building durability. Its October 29, 2024 guidance also says caulking and weatherstripping may pay for themselves in one year or less in suitable applications. Read the Department of Energy’s air-sealing guidance.
That does not justify crushing the seal.
Why compression changes over time
Gasket load is not fixed forever. It can change because of:
Temperature-driven material expansion and contraction
Gasket aging or permanent compression set
New replacement seals with a different cross-section
Paint or coating buildup
Sash distortion
Frame installation movement
Loose hinges
Keeper adjustment
Swollen timber
Debris trapped on the seal or rebate
A lock that works in a warm factory may feel different after installation in a cold coastal project. Vinyl, aluminum, timber, steel, elastomers, and zinc-alloy hardware do not respond identically to temperature and moisture.
And yet many approval tests are performed only at room temperature, on one carefully assembled sample, with no tolerance extremes.
That is weak validation.
Window lock compression adjustment
Adjustable roller cams and eccentric mushroom cams can modify the sash pull-in force. A small rotational adjustment may increase or reduce seal compression, depending on the cam design.
Do not turn every cam to its maximum setting.
Instead, record the original position, adjust in small equal increments, close the sash, and compare operating force and seal contact. On multipoint systems, inconsistent cam settings can twist the sash or concentrate load at one corner.
The goal is not the tightest possible closure. The goal is repeatable engagement with acceptable operating force and adequate seal contact.
Alignment, Compression or Lubrication: A Practical Comparison
Symptom
Most Likely Cause
Confirmation Test
Appropriate Action
Risk of Ignoring It
Handle is smooth with sash open but stiff when closed
Keeper misalignment or excessive compression
Operate the lock with the sash open
Inspect sash position, keepers, hinges, and cam settings
Gearbox, spindle, or handle damage
Handle is stiff with sash open and closed
Contamination, corrosion, internal wear, or poor lubrication
Disconnect engagement from frame and test mechanism
Clean, lubricate to manufacturer instructions, or replace
Accelerated wear and seizure
Sash must be lifted before locking
Sash drop or hinge movement
Check reveal gaps and keeper contact marks
Tighten, adjust, repair, or replace hinge hardware
Repeated lock overload
Final lever movement is unusually heavy
Excessive gasket compression or late keeper engagement
Inspect seals and locking-point entry
Reduce compression or reposition keeper
Bent rods and gearbox wear
Lock works after spraying but becomes stiff again
Wrong lubricant or unresolved alignment
Clean mechanism and retest under no load
Use the specified lubricant and correct geometry
Dirt buildup and recurring failure
One locking point engages while another misses
Rod, frame, sash, or keeper alignment error
Mark each locking point and inspect contact
Correct individual keeper positions and system alignment
False locking and weak sealing
Handle rotates but window does not lock
Stripped spindle, follower, fork, or gearbox
Inspect drive engagement
Replace damaged drive components
Window appears closed but remains unsecured
The table exposes a point that sales literature often hides: the same symptom can have several causes, and one cause can produce several symptoms.
Proper diagnosis matters.
Lubrication: The “Best Product” Depends on the Hardware
People searching for the best lubricant for window locks usually expect one brand or one chemical.
There is no universal answer.
Andersen’s current maintenance guidance recommends cleaning visible dirt and grease, tightening hardware screws where necessary, and applying a dry lubricant to lock mechanisms and other moving hardware. Its care instructions specifically recommend dry silicone spray for relevant Andersen hardware while warning against acetone-containing and oil-based products. See Andersen’s window hardware lubrication instructions.
AmesburyTruth gives different product-specific advice. Its technical note recommends lithium grease for gear drives such as operators and locks, lists other products for sliding or rotating joints, and warns that silicone-based sprays may make some plastic parts brittle. Read AmesburyTruth Tech Note 8.
Both sources can be right.
The hardware materials, factory lubricant, coatings, plastic compounds, seals, and internal geometry are different. This is exactly why spraying a fashionable general-purpose product into every stiff mechanism is poor maintenance.
Clean before you lubricate window locks
Lubricant applied over grit creates an abrasive paste. Heavy oils and greases can also trap airborne dust, fibers, pollen, construction debris, and salt deposits.
Use the following order:
Photograph or mark the current hardware settings.
Remove loose dust with a soft brush or cloth.
Clean using the product manufacturer’s approved method.
Let the components dry completely.
Check loose screws and visible damage.
Apply a small amount of the specified lubricant.
Operate the mechanism repeatedly to distribute it.
Remove excess product.
Retest with the sash open.
Retest with the sash closed.
Do not flood the gearbox.
Dry polytetrafluoroethylene, commonly called PTFE and represented by the repeating polymer unit ((C_2F_4)_n), and polydimethylsiloxane-based dry silicone products may reduce surface friction without leaving the same wet residue as conventional oil. But chemical compatibility still has to be confirmed.
The label “silicone safe” is not a substitute for the window manufacturer’s instructions.
Environmental exposure changes the maintenance interval
Coastal chloride deposits, agricultural dust, industrial particles, and high humidity accelerate contamination and corrosion. Andersen recommends checking and cleaning relevant hardware at least once a year, increasing the frequency to every three months in coastal, industrial, or agricultural environments. AmesburyTruth likewise recommends annual inspection, with more frequent attention where conditions demand it.
That schedule is more realistic than waiting for the handle to become difficult.
How to Fix a Stiff Window Lock Without Creating a Bigger Failure
A good window lock repair begins with restraint.
Do not use a longer lever. Do not strike the handle. Do not force the mechanism past its normal stop. And do not loosen every keeper at once unless you have marked its original position.
Step 1: Test the lock with the sash open
Operate the handle slowly.
If it is smooth, concentrate on alignment and compression. If it remains stiff, inspect the handle, spindle, fork, gearbox, rods, pivots, and internal lubrication.
Step 2: Check screws and hardware movement
Loose handle screws can distort the base. Loose hinge screws can let the sash drop. Loose keepers can shift under load.
Tighten only to the correct level. Overtightening screws into vinyl, aluminum, timber, or plastic housings can strip the substrate or distort the component.
Step 3: Inspect contact marks
Look for polished metal, chipped coating, scraped plastic, distorted keeper edges, or black debris. These marks reveal where moving parts are colliding.
The evidence is physical. Use it.
Step 4: Check sash geometry
Compare the clearance around the sash. Uneven reveals may indicate drop, twist, bow, or frame distortion.
A lock should not be used to drag a deformed sash into position. Correct the support or geometry first.
Step 5: Evaluate compression
Inspect the gasket for flattening, displacement, contamination, tears, or an incorrect replacement profile. Reduce adjustable cam compression only in controlled increments.
Step 6: Clean and lubricate correctly
Use the hardware manufacturer’s specified cleaning method and lubricant. Keep incompatible chemicals away from plastics, coatings, glazing compounds, seals, and finished timber.
Step 7: Replace damaged components as a matched set
A new handle will not repair a stripped gearbox follower. A new gearbox may not survive a bent rod. A new sash lock may not engage an incorrectly positioned keeper.
Match spindle size, fixing centers, handing, backset, faceplate dimensions, travel, cam arrangement, and keeper geometry.
For production programs, CHIER’s quality control and hardware testing process covers dimensional fit, locking engagement, operating torque, sticking, cycle durability, wear, and change control. Those are the checks that should happen before mass production, not after field complaints begin.
The Safety Evidence Behind Proper Window Hardware Repair
Some people treat a stiff window lock as a minor inconvenience. The public record suggests more caution.
In December 2023, the U.S. Consumer Product Safety Commission announced a repair recall involving about 12,000 Pella Architect Series casement windows because the sash could detach and fall. The affected windows had sold from January 2021 through July 2023 for between $700 and $10,000 each. This was not a stiff-lock recall, but it demonstrates the larger point: window hardware and sash-control failures can become serious safety events. Review the Pella casement window recall.
In January 2023, CPSC announced a recall involving MI Windows and Doors model 1620 vinyl single-hung impact windows. The agency said the tilt latch could cause the window opening control device to malfunction, creating fall and serious injury hazards. The affected products had sold for approximately $500 to $700 in several southern coastal states. See the MI model 1620 recall.
CPSC’s April 2026 Window Safety Week release reported that an estimated 5,600 children aged 12 and under received emergency-department treatment in 2024 after falling from windows. About one-third required hospitalization. Read the 2026 CPSC window safety report.
These cases do not prove that every stiff lock is dangerous. They prove that window hardware should be treated as functional safety equipment rather than decorative metalwork.
That is an important difference.
When Repair Is Sensible—and When Replacement Is Smarter
Repair is usually reasonable when the hardware is intact and the fault comes from contamination, loose fasteners, minor keeper displacement, adjustable compression, or correctable sash alignment.
Replacement is more defensible when you find:
Cracked or distorted zinc-alloy components
Stripped spindle or fork engagement
Excessive gearbox backlash
Bent connecting rods
Broken internal springs
Severe corrosion
Missing replacement parts
Repeated seizure after correct cleaning and adjustment
A mismatch between the installed lock and the profile
Damage caused by prolonged forced operation
Product identification connected to an active recall
I would also reject a repair-only approach when the sash or frame is structurally distorted. Installing new locking hardware on a defective support system merely moves the failure date.
It does not solve the problem.
FAQs
Why is my window lock hard to turn?
A window lock becomes hard to turn when the locking components encounter more resistance than the handle and transmission were designed to overcome, usually because of sash misalignment, misplaced keepers, excessive gasket compression, dirt, corrosion, loose hinges, incorrect spindle engagement, internal wear, or unsuitable lubrication.
Test the handle with the sash open. Smooth open-sash operation usually points to alignment or compression. Continued stiffness suggests a mechanism, contamination, or lubrication issue.
How do I fix a stiff window lock?
Fixing a stiff window lock means identifying whether resistance comes from the lock itself or from the surrounding window assembly, then correcting loose screws, sash position, keeper alignment, seal compression, contamination, lubrication, or damaged components without forcing the handle or changing several settings at once.
Start by operating the lock with the window open. Mark all original keeper and cam positions before making small, controlled adjustments.
What is the best lubricant for window locks?
The best lubricant for a window lock is the exact lubricant approved for that lock’s gears, joints, coatings, plastics, and seals, because dry silicone, PTFE, lithium grease, graphite, and light oil have different uses and may damage materials or attract debris when applied to incompatible hardware.
Andersen recommends dry lubricant or dry silicone for relevant hardware, while AmesburyTruth recommends lithium grease on certain gear drives and warns against silicone on some plastic parts. Check the product instructions first.
Can excessive window lock compression damage the mechanism?
Excessive window lock compression is a condition in which rollers, cams, sweeps, or bolts pull the sash too tightly against its weather seal, raising handle torque and placing unnecessary load on the spindle, gearbox, rods, keepers, fasteners, hinges, gasket, and sash profile during every locking cycle.
Reduce adjustable compression gradually. Do not assume the maximum cam setting provides the best air or water seal.
When should a stiff window lock be replaced?
A stiff window lock should be replaced when cleaning, correct lubrication, sash alignment, keeper adjustment, and compression correction do not restore reliable operation, or when inspection reveals cracked castings, stripped drive interfaces, bent rods, broken springs, severe corrosion, excessive internal play, unavailable parts, or damage associated with forced operation.
Replace connected damaged parts together when necessary. A new handle attached to a worn gearbox may fail quickly and hide the underlying defect.
Can I adjust a window locking mechanism myself?
A window locking mechanism can be adjusted by a competent user when the work involves accessible screws, clearly adjustable cams, minor keeper movement, and manufacturer-approved maintenance, but professional help is safer when the sash is heavy, elevated, distorted, recalled, fitted with multipoint hardware, or connected to a fall-prevention or emergency-egress function.
Record every original position before adjustment. Stop immediately if the sash becomes unstable or the locking points no longer engage consistently.
Get the Window System Checked Before the Handle Breaks
Do not wait until a hard-to-turn window handle snaps.
Test the mechanism with the sash open, inspect the locking points, record contact marks, verify gasket compression, and use only the lubricant approved for the installed hardware. For manufacturers, importers, system suppliers, and project buyers, operating force should be evaluated on the complete window assembly at nominal and tolerance-limit conditions.
Need help matching a lock, handle, keeper, spindle, or gearbox to a specific profile? Send CHIER the window drawings, profile section, mounting dimensions, opening type, photos, finish requirement, and expected order quantity through the window and door hardware project inquiry page.