Looking for hardware solutions that meet European / American standards?
Use this guided inquiry modal to move from a generic quote form to a clearer technical conversation. Buyers can choose whether they need pricing, CAD / 3D files, or OEM / ODM support before sharing contact details.
Compatibility-first design across door / window systems
Repeatable production with clear inspection checkpoints
Documentation and change control for long-running programs
Responsive engineering support for fit and field feedback
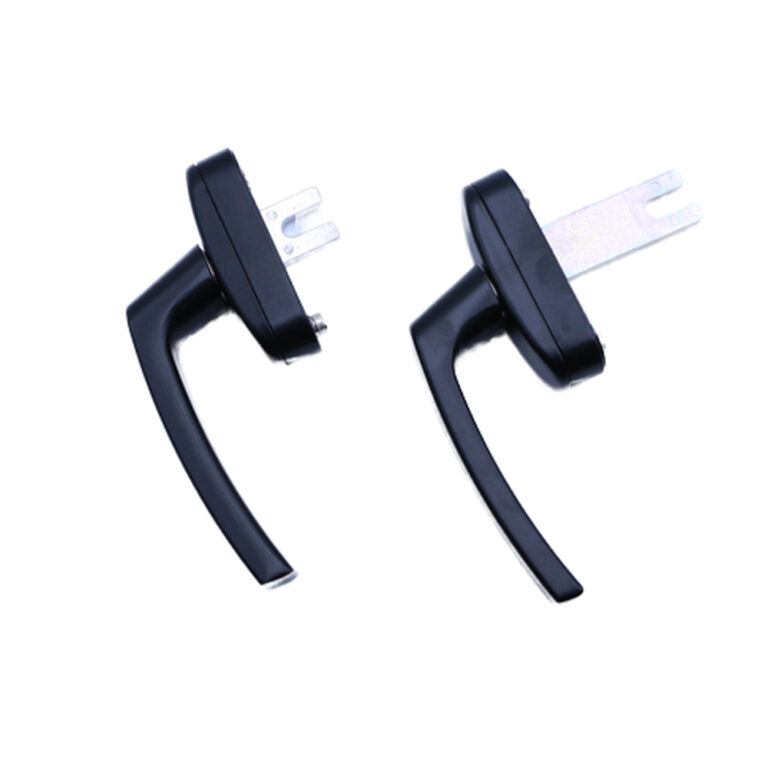
A casement window cam handle may be only a small lever, yet its real performance depends on the combined position of the sash, frame, keeper, gasket, pivot, cam nose, fixing screws, and hinge line across the full manufacturing tolerance stack.
So why do so many RFQs still ask only for finish, color, and price?
I do not trust a cam handle specification that starts with “matte black” and ends with a product photo. That is merchandising, not engineering. The handle must pull the sash into the frame, pass the point of maximum resistance, hold compression without creeping open, and remain usable when the gasket hardens or the sash drops slightly.
That is the job.
“Cam Handle” Is Not One Mechanism
The market uses casement window handles, casement window cam handles, and window cam lock handles as though they describe the same component. They do not.
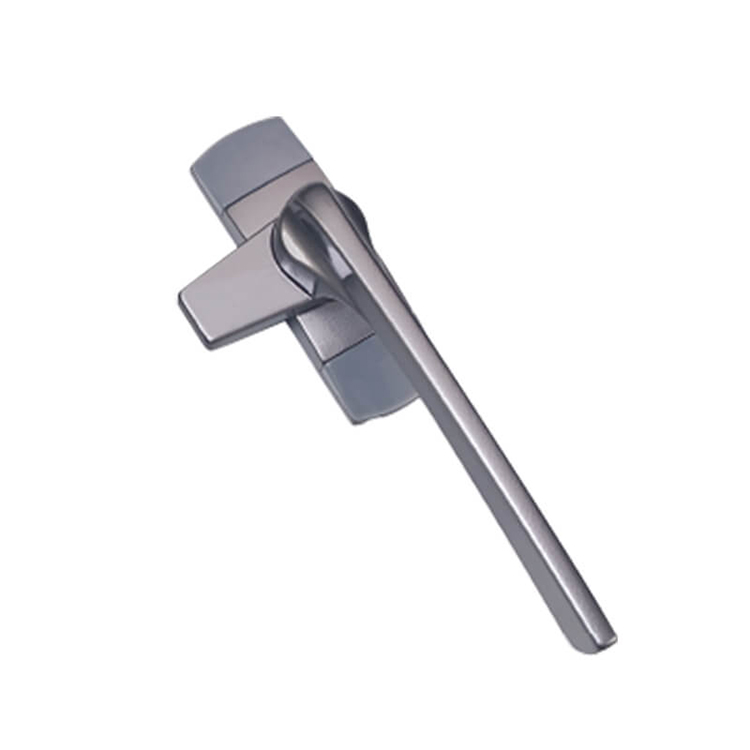
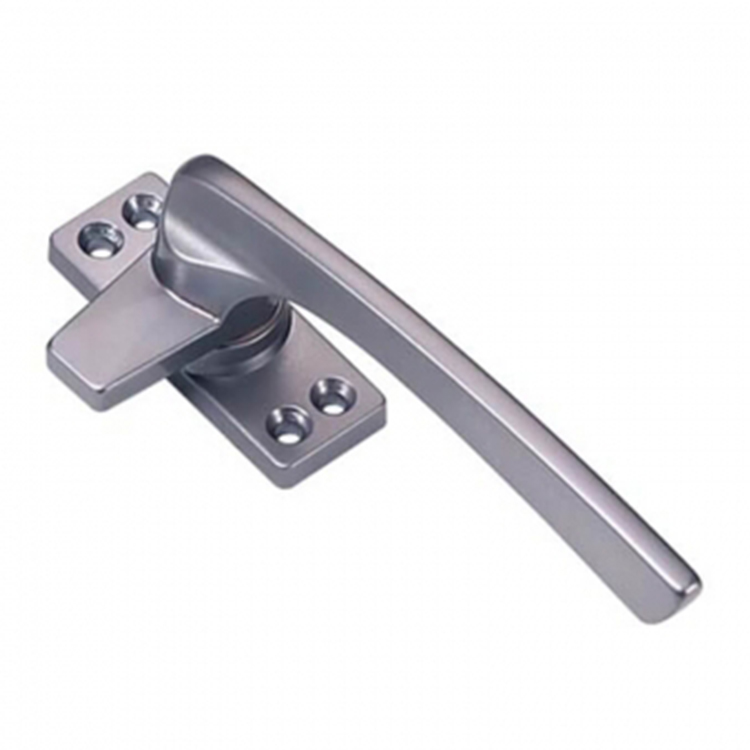
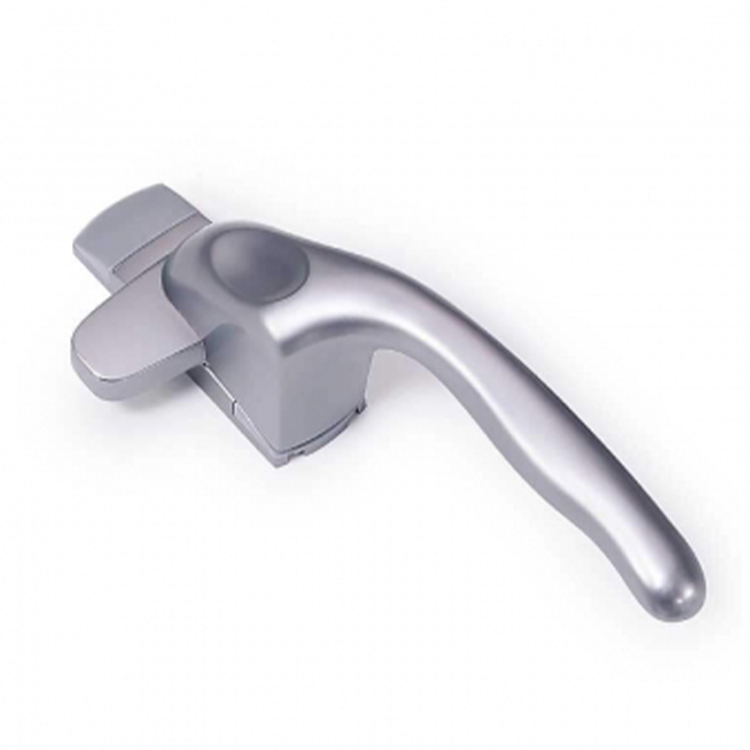
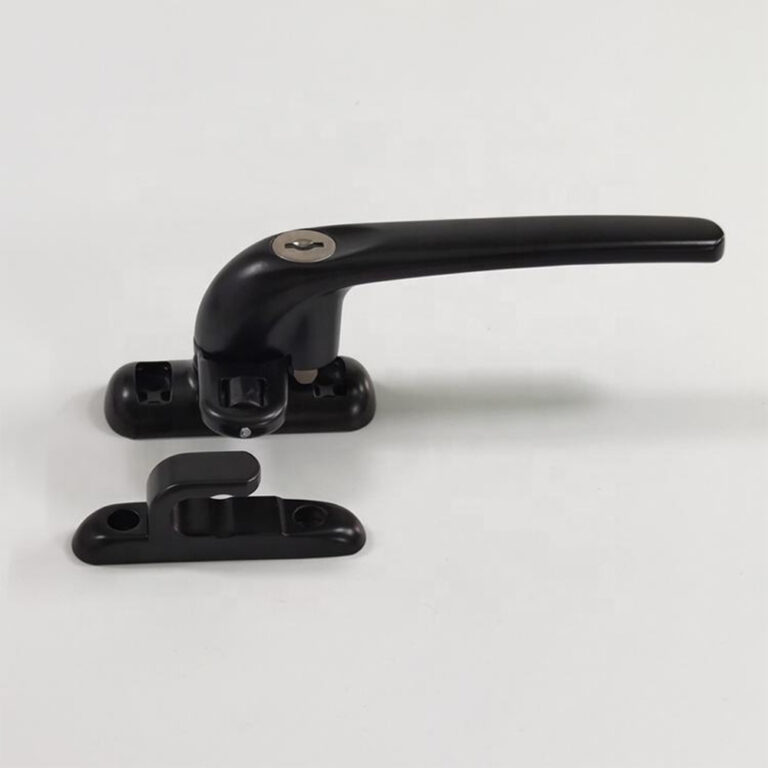
A simple rotating cam turns a tongue behind a keeper. An over-centre handle adds linkage geometry so the mechanism passes beyond its dead-centre position during the final closing movement. An espagnolette handle rotates a spindle that drives a gearbox and one or more locking points. A cockspur handle uses a projecting nose that closes over a wedge or strike.
Those distinctions matter because the replacement measurements, operating force, sealing action, and failure modes are different. Before selecting a product, compare the mechanism against a proper casement window handle selection guide rather than matching the silhouette.
Handle or lock type
What actually moves
Main selection measurement
Typical mistake
Direct cam handle
Cam tongue rotates behind a keeper
Effective grip, cam offset, keeper height
Cam contacts too early or never reaches full hold
Over-centre cam handle
Lever and linkage pass beyond dead centre
Grip range, pull-in travel, final lever angle
“Locked” position sits on centre and can spring back
Handle combines actuation and key or button control
All above, plus lock function and keying
Lock feature specified without system compatibility
Here is my blunt view: the best cam handles for casement windows are not the strongest-looking handles. They are the handles whose geometry matches the closed window.
Cam Handle Grip Range: Measure the Closed Assembly, Not the Loose Parts
Cam handle grip range is the effective distance the latch must bridge between its mounting reference plane and the keeper contact surface when the sash is fully closed and the gasket is under its intended compression.
That definition sounds simple. Production makes it messy.
Profile extrusion tolerance changes the step. Powder coating adds film thickness. Keeper screws wander. Gaskets compress, recover, and take a set. Friction stays wear. Sashes move under glass weight. A supplier who quotes one nominal grip dimension without stating the datum is giving you a number that may be impossible to reproduce.
How I Would Measure It
Close the sash using controlled hand pressure. Do not force the handle.
Then measure from the handle mounting datum to the keeper’s working face in the real closed condition. Record at least three assemblies, not one show sample. Measure the smallest, nominal, and largest result. Repeat after the gasket has been compressed for a defined period.
Suppose the measured values are 13.8 mm, 14.4 mm, and 15.1 mm. If profile, keeper, and gasket variation can add another 0.7 mm in either direction, I would not approve a fixed 14 mm geometry. I would target a usable range of roughly 13.1–15.8 mm, then confirm operating force and over-centre margin at both limits.
The arithmetic is not the hard part.
The hard part is refusing a convenient nominal value when the assembly data says the product needs adjustability, a different cam offset, or a revised keeper.
Signs the Grip Range Is Wrong
Field symptom
Likely geometry problem
What to check first
Handle closes with almost no resistance, but sash rattles
A binding handle is often innocent. The site’s guide on preventing binding in multi-point window locks makes the same wider point: hinge sag, keeper location, sash position, and lock travel must be checked before anyone starts replacing visible hardware.
Over-Centre Action: The Last Few Degrees Do the Real Work
An over-centre mechanism passes its linkage beyond the position where the pivot points are aligned. Before that point, the closing load pushes back against the user. After it, the reaction force tends to hold the mechanism in the closed direction.
That is why the final movement matters more than the first 80 percent of the handle stroke.
A well-set over-centre window handle should build resistance progressively, pull the sash into controlled gasket compression, cross the centre point cleanly, and settle into a stable end position. It should not slam. It should not need a body-weight shove. And it should not stop exactly on the unstable centre line.
Industrial compression-latch data provides a useful mechanical reference. Southco’s official VISE ACTION compression latch specification describes adjustable grip, a 6.4 mm pull-up action, and over-centre latching intended to resist accidental opening from shock or vibration. A casement window cam handle is not automatically the same product, but the mechanical lesson is valid: grip, pull-in, and over-centre retention must be treated as separate design variables.
Too much over-centre travel is not automatically better. It can overload the keeper, distort a thin aluminum profile, crush the gasket, increase operating force, and encourage users to yank the lever. Too little travel leaves the handle vulnerable to spring-back as the gasket pushes against the cam.
The sweet spot is verified, not guessed.
A Simple Force Check
Handle effort is tied to required torque and lever length:
Hand force (N) = Required torque (N·m) ÷ Effective lever length (m)
If the mechanism needs 1.6 N·m and the effective lever length is 80 mm, the theoretical hand force is 20 N before friction losses. Shorten the lever to 60 mm and the same torque requires about 26.7 N.
Small change. Big feel.
This is why a slim architectural lever can become unpleasant when the cam geometry, gasket load, and bearing friction are not redesigned with it.
Safety, Accessibility, and Security: A Handle Is Never the Whole Claim
Here is the hard truth: a casement window locking handle is not a child fall-prevention device merely because it locks.
On April 7, 2026, the U.S. Consumer Product Safety Commission reported an estimated 5,600 emergency-department treatments in 2024 for children aged 12 and under who fell from windows. About one in three required hospitalization, and the agency knew of at least 25 deaths from 2021 through 2023. The CPSC Window Safety Week release is a warning against casual safety language. Cam handles control closure, but fall prevention requires the correct window guard, limiting device, opening control device, installation, and use conditions.
Accessibility deserves the same honesty. The U.S. Access Board states that covered operable parts must work with one hand, without tight grasping, pinching, or wrist twisting, and with no more than 5 lbf, or 22.2 N, of activation force. The official operable-parts guidance does not make every residential casement handle automatically subject to that exact limit, but it gives designers a serious ergonomic benchmark.
Security is also an assembly property. England’s Approved Document Q guidance says covered doors and windows should resist physical attack by being sufficiently robust and fitted with appropriate hardware. That wording matters. A lockable handle mounted on a weak keeper, thin screw boss, or flexible sash is not a secure window system.
What should a buyer conclude?
Do not buy claims. Buy testable functions.
Material and Finish Still Matter, Just Not First
Once the geometry works, material and finish decide whether it keeps working.
I would review the handle body, pivot pin, spring, cam, spindle or linkage, fasteners, keeper, and coating as one package. The material selection guide for aluminum window handles is useful here because “aluminum” alone does not define alloy, process, wall thickness, thread strength, or corrosion behavior.
Aluminum depends on a thin Al₂O₃ passive film. Chloride ions, written as Cl⁻, trapped moisture, coating damage, and dissimilar-metal contact make the assembly less forgiving.
And matte black proves nothing.
The more direct guide on why window handles should not be judged by finish alone puts the purchasing trap in plain terms: coating color cannot substitute for spindle fit, screw retention, spring return, cycle performance, and corrosion control.
For coastal, poolside, or high-condensation projects, I would ask for the substrate, pretreatment, coating system, fastener grade, dissimilar-metal strategy, and corrosion-test basis. A stainless cam on an aluminum body can be sensible. It can also create a wet galvanic joint if the interface is poorly isolated.
The sample may look perfect.
The wet season votes later.
How to Specify Casement Window Cam Handles Without Buying a Warranty Problem
A professional specification should make the supplier answer engineering questions before tooling, sampling, or price negotiation.
Profile cross-sections showing the handle datum, keeper location, and closed-sash relationship.
Measured minimum, nominal, and maximum grip requirements from real assemblies.
Cam offset, cam thickness, keeper working-face height, and lateral engagement.
Required pull-in or compression travel before and after the centre point.
Maximum acceptable operating force at room temperature and after conditioning.
Gasket material, nominal compression target, compression-set assumption, and temperature range.
Handle body material, cam material, pivot material, spring material, and fastener grade.
Finish system, pretreatment, film thickness target, adhesion requirement, and corrosion-test basis.
Cycle-test target, failure definition, post-test play limit, and lock-retention check.
Key locking, push-button locking, non-locking, or restricted-access requirement.
Approved drawings, golden sample, revision control, batch traceability, and substitution prohibition.
Also review the load-support side. A worn or undersized friction stay changes sash position and can destroy otherwise correct cam geometry, so the window hinge and friction-stay range belongs in the same system conversation.
My rule is simple: approve the handle on the finished window, at tolerance extremes, after conditioning. Bench feel alone is weak evidence.
FAQs
How Do Cam Handles Work on Casement Windows?
A cam handle for a casement window works by rotating or driving a shaped cam behind a keeper, converting lever movement into closing force that pulls the sash toward the frame; in an over-centre design, the linkage moves beyond dead centre so gasket reaction helps retain the closed position rather than forcing the handle back open.
The exact motion varies by design. Some handles rotate a direct cam, some close over a wedge, and others drive an espagnolette gearbox. The product name is less useful than the drawing, datum, keeper relationship, and operating sequence.
What Grip Range Do I Need for a Window Cam Handle?
The grip range you need is the full minimum-to-maximum distance between the handle’s mounting reference and the keeper’s working face when the sash is closed under intended gasket compression, including profile, coating, drilling, keeper, hinge, gasket, temperature, and service-wear variation rather than only the nominal dimension from one sample.
Measure several finished windows. Then test both extremes. A handle that works at 14.5 mm on one prototype may bind at 13.6 mm or rattle at 15.4 mm if the cam and keeper have no adjustment margin.
What Is Over-Centre Action in a Casement Window Handle?
Over-centre action is a linkage condition in which the handle, cam, or toggle passes beyond its dead-centre alignment during final closure, causing the reaction load from the compressed gasket or keeper to bias the mechanism toward the locked stop instead of pushing it back toward the open position.
The final angle needs margin. A mechanism that stops on centre can feel locked but remain unstable. A mechanism driven too far past centre can create excessive force, profile distortion, gasket damage, or premature pivot wear.
Are Locking Casement Window Handles More Secure?
Locking casement window handles are handles with a key, button, or restricted actuator that prevents normal handle movement, but their real security depends on the keeper, fixings, sash stiffness, lock points, glass, frame, installation, and tested window assembly; the word “locking” alone does not prove resistance to forced entry.
For an accessible window, specify the complete security target and test route. A small cylinder in the lever may deter casual operation, yet it cannot compensate for shallow screw engagement or a keeper that deforms under pry load.
What Are the Best Cam Handles for Casement Windows?
The best cam handles for casement windows are models whose grip range, cam offset, keeper geometry, pull-in travel, over-centre margin, lever length, materials, finish, and fixing pattern have been verified on the actual window at tolerance extremes, after gasket conditioning, and through a defined operating-cycle and retention test.
That answer is less exciting than “stainless steel” or “premium black.” It is also more honest. Product quality begins with fit and force, then moves to durability, corrosion resistance, security options, finish, and price.
Specify the Geometry Before You Request the Quote
Send the supplier a closed-window section, not just a handle photo.
Include the measured grip range, keeper position, gasket compression target, opening direction, expected operating force, material stack, finish exposure, cycle target, and annual volume. Then ask for a drawing and a working sample that can be tested at both ends of the tolerance range.
CHIER’s OEM door and window handles program supports drawing review, sampling, finish matching, spindle and fixing customization, packaging, and repeat production for casement window handles and related hardware.
The next move is concrete: document your window geometry, mark the minimum and maximum grip, and request an engineered cam-handle proposal rather than another catalog guess.