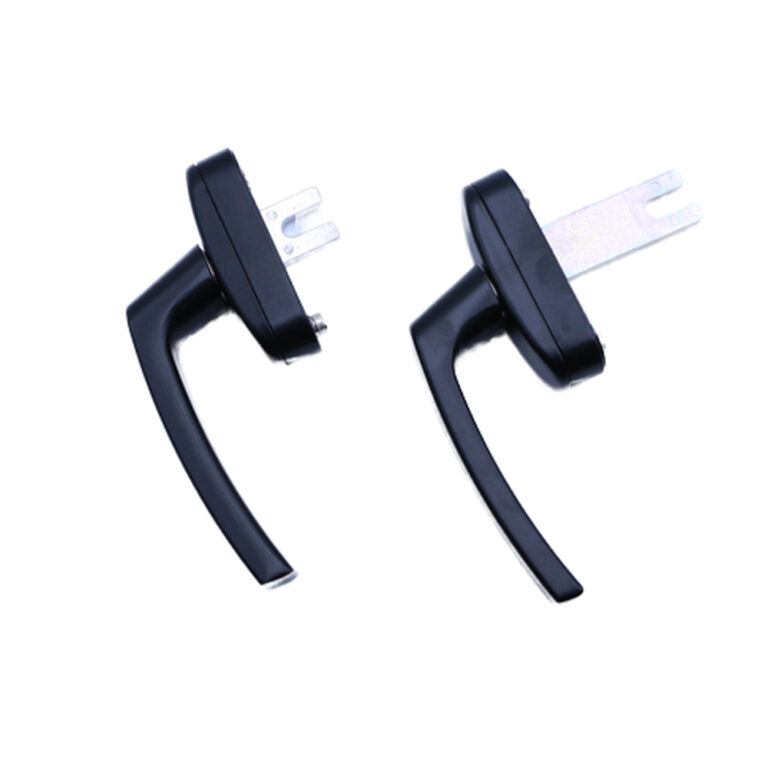
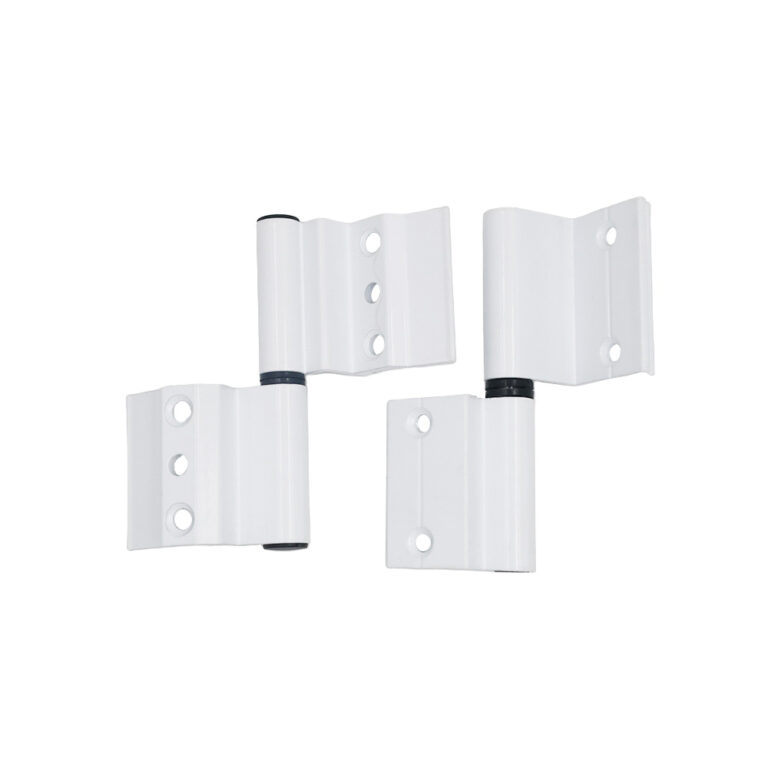
Looking for hardware solutions that meet European / American standards?
Use this guided inquiry modal to move from a generic quote form to a clearer technical conversation. Buyers can choose whether they need pricing, CAD / 3D files, or OEM / ODM support before sharing contact details.
Compatibility-first design across door / window systems
Repeatable production with clear inspection checkpoints
Documentation and change control for long-running programs
Responsive engineering support for fit and field feedback
When a casement keeper sits slightly above, below, inside, or outside the lock point’s intended path, the handle may still move, but the mechanism starts converting a simple closing action into friction, sash distortion, uneven gasket pressure, and concentrated load on the gearbox.
So why do buyers keep replacing handles first?
My view is blunt: replacing a casement handle before checking keeper alignment is lazy troubleshooting. The handle is merely where the user feels the problem. The actual fault may be 800 mm away at the upper keeper, underneath the sash at the hinge track, or inside a frame that was installed out of square.
A keeper is not a decorative strike plate. It is a load path.
Keeper Height and Pull-In Are Different Adjustments
Casement window keeper alignment has two primary dimensions, and confusing them creates bad repairs.
Keeper height describes where the keeper sits along the path of the moving lock point. Depending on the system, that lock point may be a cam, mushroom roller, hook, fork, tongue, or sliding bolt. The point must enter the keeper without striking its upper edge, lower edge, or side wall.
Pull-in describes how far the keeper draws the sash toward the frame as the handle reaches its locked position. This movement creates casement fastener compression against the weatherstrip.
One controls engagement. The other controls pressure.
They interact, but they are not interchangeable. Moving a keeper inward may increase gasket compression while leaving a height error untouched. Moving it upward may eliminate scraping yet create no improvement in sealing.
The Graham Architectural projected and casement window manual makes this distinction practical: first compare the lock points with their keepers while the sash is almost closed, then use lateral adjustment for alignment and a separate keeper adjustment for tighter or lighter weatherstrip compression.
The Four Relationships I Check
I treat every casement window handle adjustment as a four-part geometry check:
Lock-point height: Does the cam, roller, fork, or bolt meet the keeper near its intended centerline?
Engagement depth: Does the moving part enter far enough to resist disengagement without bottoming out?
Pull-in: Does the closing action compress the gasket evenly without making the handle excessively hard to turn?
Sash position: Is the sash centered, square, and supported before the keeper is adjusted?
The fourth item gets ignored constantly.
But a keeper should not be moved merely to accommodate a sagging sash. That may make the handle close today while allowing the hinge, operator, gasket, and lock points to continue drifting. The repair has hidden the fault rather than correcting it.
FS Chier’s guide to matching window locks for older windows follows the same system-level logic: keeper height, cam projection, engagement depth, spindle interfaces, hinge sag, gasket compression, and frame condition all need to be measured together.
What Bad Alignment Does to the Window
A misaligned window sash lock keeper rarely produces one clean symptom. It creates a chain.
The lock point hits the keeper off-center. The user applies more force. The handle sends that force through the spindle or fork into the lock body. The gearbox and connecting bars absorb loads they were never meant to correct. The sash may then lift, twist, or pull unevenly against the weatherstrip.
The window closes.
That proves nothing.
A handle reaching its final position does not confirm full engagement, uniform gasket compression, acceptable operating force, or controlled air leakage. A poorly aligned system can look locked while one corner remains lightly compressed and another is being crushed.
This is why I agree with the argument in FS Chier’s analysis of integrated window lock and handle designs: the handle, lock body, keeper, spindle, screws, sash profile, and installation tolerances must be treated as one assembly, not unrelated catalog parts.
Too Little Pull-In
When pull-in is insufficient, the sash may latch without applying enough pressure to the weatherstrip. Common results include:
A loose or hollow closing feel
Movement or rattle under wind load
A paper strip that slides out with little resistance
Local drafts near the lock-side jamb
Uneven water resistance
Different compression at the top and bottom keepers
The U.S. Department of Energy states that lower window air-leakage values mean better airtightness and that limiting infiltration reduces drafts and condensation. Its guidance also tells users to keep every latch locked during extreme outdoor temperatures because full latch engagement reduces infiltration. Read the DOE fenestration guidance.
Too Much Pull-In
More pressure is not automatically better.
An excessively aggressive pull-in setting can make the handle bind near the end of its rotation, overload the spindle or fork, deform the keeper mounting area, accelerate wear at the cam surface, and leave a permanent compression set in the gasket.
This failure often gets misdiagnosed as a defective handle because the user feels the resistance at the lever. Yet the handle may rotate smoothly when the sash is open. That is a strong clue that the resistance comes from keeper position, sash geometry, gasket load, or lock-point timing rather than from the handle alone.
Hard truth: a “tight” window is not necessarily a well-sealed window.
If one keeper is set too deep while another barely engages, the sash can twist across its diagonal. You gain pressure at one point and lose it elsewhere.
Incorrect Keeper Height
A height error produces a different pattern. Look for polished edges, chipped coating, metal dust, scraped zinc plating, or witness marks above or below the keeper ramp.
A lock point that strikes low may lift the sash as the handle closes. One that strikes high may force the sash downward. Either condition adds vertical load to components designed mainly to draw the sash inward.
And if the window locks only while someone lifts or pushes the sash, stop adjusting the keeper. Check hinge sag, operator mounting, frame squareness, sash reveal, loose fasteners, and profile deformation first.
Symptoms That Reveal the Actual Fault
The following table is a diagnostic screen, not a substitute for the product drawing or manufacturer’s adjustment procedure.
Observed symptom
Likely cause
What to inspect first
Common wrong response
Handle turns freely with the sash open but binds when closed
Excessive pull-in, keeper offset, gasket load, or sash misalignment
Sash twist, frame distortion, or unequal keeper settings
Diagonal measurements and perimeter reveal
Increasing bottom pull-in alone
Handle stops during its final travel
Keeper depth too aggressive or lock points arriving at different times
Individual keeper contact sequence
Forcing the lever
Handle closes, but sash rattles
Shallow engagement or low pull-in
Keeper depth, cam overlap, fastener security
Adding grease
One keeper repeatedly moves after adjustment
Weak screw purchase or deformed mounting slot
Fastener substrate and screw engagement
Applying threadlocker without repairing the fixing
The same system thinking appears in FS Chier’s door and window accessories buying guide, which connects hinges, keepers, seals, lock points, and alignment hardware to the performance of the finished opening.
Why Alignment Matters to Air-Leakage Performance
Window performance is measured at the finished-product level, not by admiring an individual handle.
The current ENERGY STAR Version 7.0 residential fenestration specification sets a maximum air-leakage rating of 0.3 cfm/ft² for windows, sliding doors, and skylights. The specification took effect on October 23, 2023, and it requires air-leakage recertification every 10 years.
That rating belongs to the tested product configuration.
Change the keeper position, gasket, lock-point engagement, sash geometry, or hardware stack, and the field condition may no longer reproduce the compression balance achieved by the tested unit. A certification label does not reach out and correct a badly adjusted keeper after installation.
That matters.
A real Building America retrofit in Milton, Massachusetts, replaced double-hung windows with casement units specifically to reduce air leakage through the window assemblies. The choice made sense because a casement sash can be pulled against its frame seals—but that advantage depends on working hinges, correct lock timing, and balanced keeper pull-in. Review the Milton retrofit case study.
The lesson is uncomfortable: buying a high-performance casement window does not guarantee high-performance operation forever. Installation movement, fastener relaxation, gasket aging, sash weight, construction debris, and repeated use can change the final relationship between the sash and frame.
How to Align a Casement Window Handle and Keeper
Do not begin by loosening every screw.
Record the existing condition first. Photograph each keeper, mark its outline with removable tape or a fine marker, note any witness marks, and identify whether the system uses a single-point latch or multiple linked lock points.
For an OEM line or production investigation, I would also record:
Handle and lock model
Spindle or fork dimensions
Keeper part number
Screw center distance
Keeper slot range
Sash and frame profile references
Gasket type and location
Lock-point travel
Handing
Complaint location
Whether the fault appears under temperature or wind changes
This is where a technical drawing beats guesswork. FS Chier’s hardware Download Center and OEM/ODM door and window hardware program are the logical internal routes for matching profile geometry, keeper position, operating travel, drawings, samples, and revision-controlled hardware.
1. Check the Sash Before the Keeper
Open and close the sash without operating the lock. Inspect the reveal—the visible margin between sash and frame—around the full perimeter.
The reveal should not narrow sharply at one corner. Check whether the lock-side edge has dropped, whether the sash rubs, and whether the frame appears twisted. On larger sashes, support the open sash while checking hinge and operator fasteners.
Never make the keeper compensate for a loose hinge screw.
2. Observe the Lock-Point Path
With the window open, move the handle to extend or position the lock points. Bring the sash close to the frame slowly without forcing it.
Watch where each lock point approaches its keeper. It should enter the intended opening or ramp without striking above, below, or beside it. This near-closed inspection is also the method described in Graham Architectural’s casement-window adjustment instructions.
Use removable marking compound, chalk, or a dry marker on the contact surface when the engagement point is difficult to see. A clean witness mark is more useful than arguing about how the handle “feels.”
3. Correct Height Before Pull-In
Loosen only the keeper being diagnosed. Preserve the starting position with an outline.
Move it in the direction required to center the lock point. Use the smallest practical adjustment, tighten the screws, and cycle the sash again.
Do not change height and pull-in at the same time. You will lose the ability to identify which change corrected—or worsened—the problem.
For multipoint systems, inspect every keeper before concluding that the handle effort is acceptable. One misaligned upper point can make the entire mechanism feel defective even when the center point is perfect.
4. Set Pull-In by Compression and Operating Feel
Once the lock point enters cleanly, adjust the keeper inward or outward according to the manufacturer’s design.
The paper-strip test is useful as a field comparison: place a flexible strip between the sash and frame, lock the window, and compare the resistance required to remove it at several positions. Graham Architectural specifically recommends this approach and advises loosening the keeper when handle pressure is excessive or tightening it when the paper pulls out too easily.
Do not treat the paper test as a certified air-leakage test. It shows relative compression, not cfm/ft² performance.
5. Balance Multiple Keepers
A multipoint lock must engage as a sequence.
Cycle the mechanism slowly and observe whether one lock point reaches full load before the others. A premature keeper can stop the connecting bar or gearbox before the remaining points complete their travel.
I prefer to establish clean engagement at every point before adding final compression. Then I increase pull-in gradually and compare resistance around the perimeter.
The goal is not identical keeper coordinates. The goal is balanced sash pressure, because profile tolerances, sash size, gasket geometry, and hinge behavior can make each location slightly different.
6. Verify the Fix Under Repeated Operation
Operate the sash repeatedly at normal speed. Then operate it slowly.
A slow cycle exposes scraping, staged engagement, and sudden changes in resistance. A normal cycle shows whether the window feels intuitive in daily use.
After cycling, inspect the keeper outlines and fasteners. A keeper that has shifted needs a fixing repair, not another adjustment. Check for enlarged holes, stripped threads, cracked profile walls, weak backing, or a screw that is bottoming before clamping the keeper.
And never force the handle through a hard stop. The gearbox is not an alignment press.
Specification Mistakes That Create Field Problems
The best casement handle keeper position cannot be selected from a product photograph.
A reliable specification needs the keeper height, lock-point travel, pull-in range, mounting slots, fastener type, profile wall thickness, reinforcement, gasket compression target, sash size, and handing to be reviewed as one package.
I would reject any supplier response that says “standard keeper” without a dimensioned drawing.
“Standard” usually means standard inside that supplier’s own hardware family. It does not prove compatibility with another gearbox, fork handle, spindle length, sash profile, gasket stack, or screw pattern.
The following checks belong in the approval process:
Dimensioned handle, lock, and keeper drawings
Maximum and minimum adjustment range
Lock-point engagement depth
Pull-in direction and travel
Keeper material and finish
Fastener specification
Required profile reinforcement
Gasket compression assumptions
Cycle-test configuration
Air, water, structural, and security test configuration
Golden sample and revision number
Finish still matters. But black powder coating cannot repair bad geometry, and satin chrome cannot compensate for a keeper positioned outside the lock point’s operating path. FS Chier’s discussion of why window handles should not be judged by finish alone reaches the right conclusion: security and operation depend on spindle fit, keeper alignment, lock transmission, fixing strength, and complete-system compatibility.
FAQs
What is casement handle keeper height?
Casement handle keeper height is the measured position of the keeper’s engagement surface relative to the handle, lock cam, mushroom roller, fork, or sash latch, and it determines whether the moving lock point enters cleanly, loads the keeper evenly, and completes its travel without scraping, lifting, or twisting the sash.
There is no universal keeper-height dimension. The correct measurement comes from the hardware drawing and the actual sash-and-frame profile relationship.
What is casement window pull-in adjustment?
Casement window pull-in is the inward movement created when the lock point rides into or behind the keeper and draws the sash toward the frame, compressing the weatherstrip enough to control drafts, water paths, rattle, and movement without forcing the handle or permanently crushing the gasket.
Pull-in is normally changed through an adjustable keeper, eccentric cam, roller, or system-specific locking component. The permitted method depends on the hardware design.
Why is my casement window handle not closing properly?
A casement window handle that will not close properly is usually being blocked by misaligned keepers, sash sag, frame twist, excessive gasket compression, incorrect lock-point travel, loose fixings, or a damaged gearbox, so the handle should not be blamed until the sash and keeper geometry have been checked under load.
Test the handle with the sash open. Smooth open-sash operation combined with closed-sash binding usually points toward alignment or compression rather than an internal handle fault.
How do you align a casement window handle and keeper?
To align a casement window handle and keeper, first center and support the sash, compare each moving lock point with its keeper while nearly closed, correct height before depth, then adjust pull-in in small steps until the weatherstrip grips evenly and the handle completes its travel without a hard final bind.
Mark the starting keeper position, adjust one variable at a time, retighten the fasteners, and test every locking point before approving the result.
What is the best casement handle keeper position?
The best casement handle keeper position is the manufacturer-specified location that gives full lock-point engagement, even perimeter gasket compression, repeatable handle effort, secure screw purchase, and sufficient adjustment reserve after installation, rather than a universal millimeter dimension copied from another profile, sash size, lock family, or gasket design.
A technically correct position should be documented through drawings, inspection dimensions, functional checks, and assembly-level performance testing.
Your Next Step: Measure Before Moving the Keeper
Do not order another handle yet.
Record the sash reveal, keeper locations, screw centers, lock-point travel, spindle or fork dimensions, gasket contact, and handle behavior with the sash open and closed. Photograph the witness marks. Mark the original adjustment positions.
For a replacement, OEM, or production problem, send the supplier the profile cross-section, sash and frame drawings, hardware part numbers, keeper dimensions, installation photos, and a clear description of where resistance begins.
Ask for a compatibility review—not a guess.
A five-minute measurement can prevent a shipment of handles that never had a chance of fixing the window.