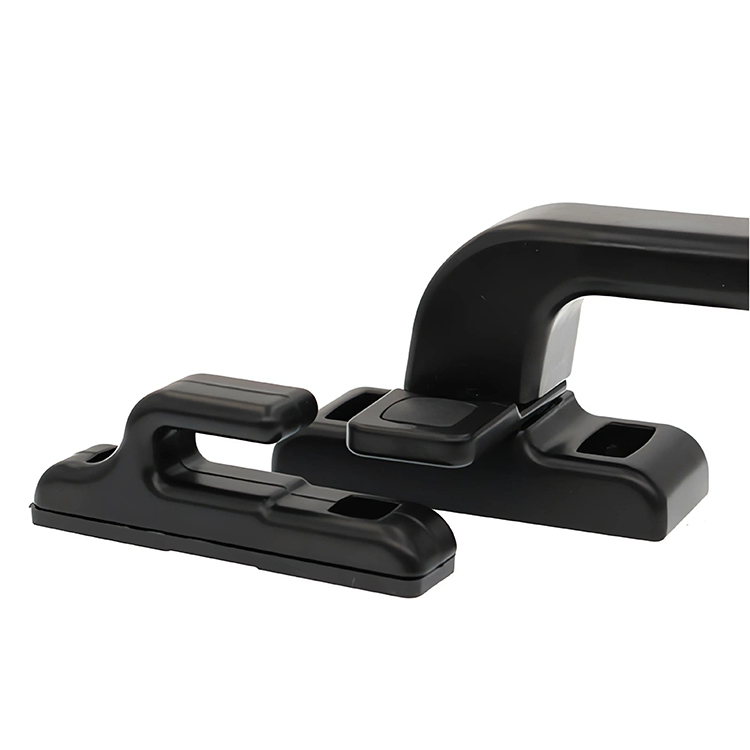
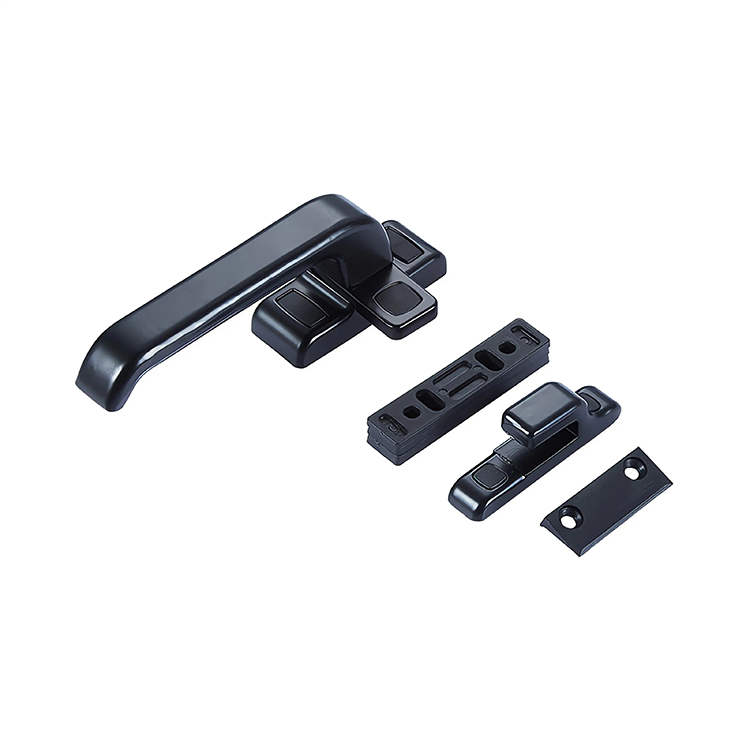
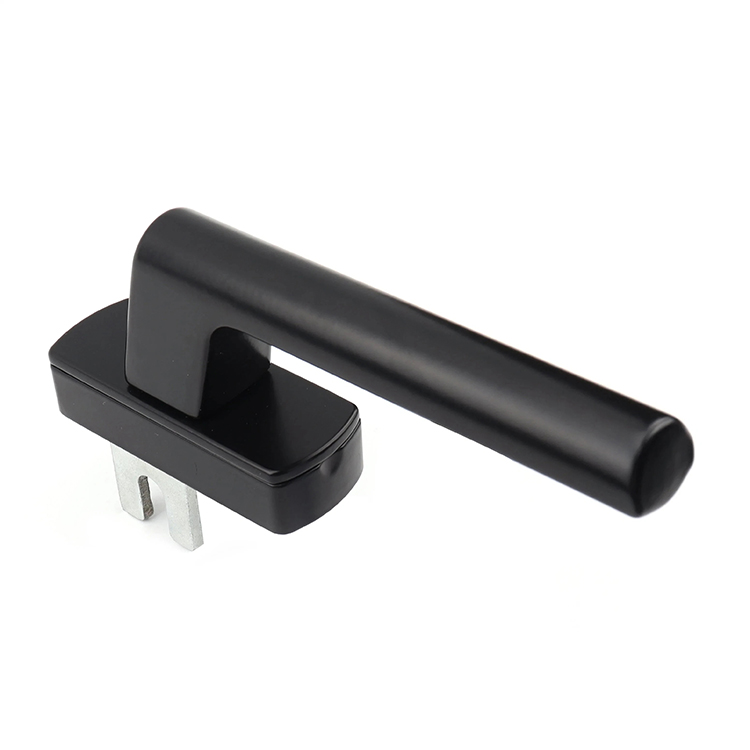
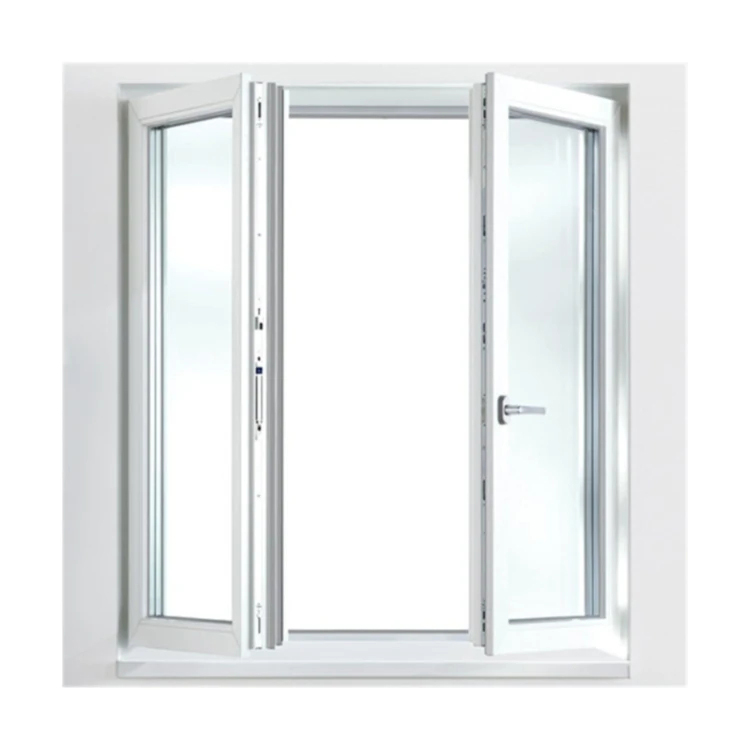
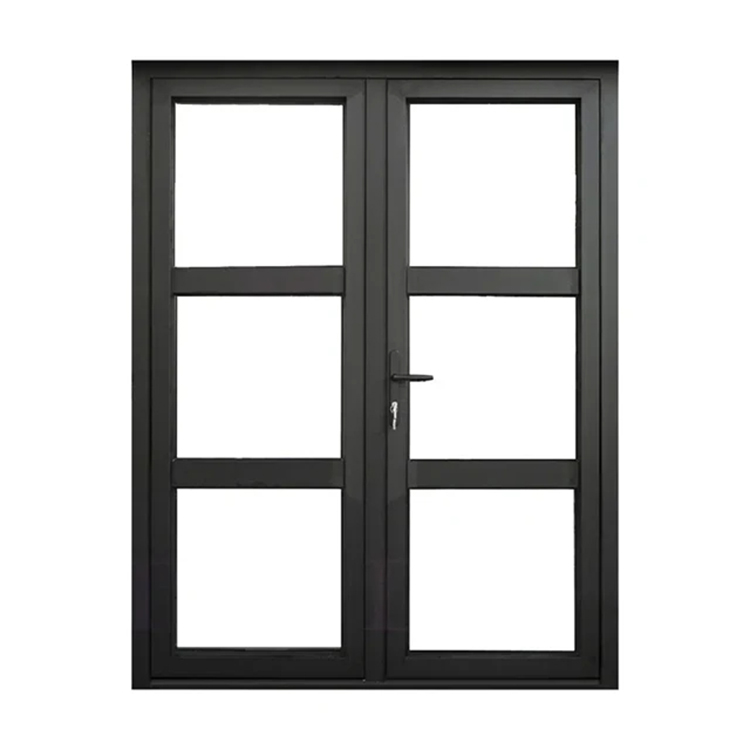
Looking for hardware solutions that meet European / American standards?
Use this guided inquiry modal to move from a generic quote form to a clearer technical conversation. Buyers can choose whether they need pricing, CAD / 3D files, or OEM / ODM support before sharing contact details.
Compatibility-first design across door / window systems
Repeatable production with clear inspection checkpoints
Documentation and change control for long-running programs
Responsive engineering support for fit and field feedback
When a window handle starts wobbling, drooping, sticking, or pulling away from its base, the visible movement is often the final symptom of a fault that began elsewhere: inside the spindle socket, behind the fixing plate, along the sash edge, or at an overloaded gearbox.
Why does the industry still sell this as a two-screw problem?
My position is blunt: never tighten a window handle until you know why it became loose. A screwdriver may hide the symptom for a week while stripped threads, sash drop, corrosion, or excessive locking resistance continues damaging the mechanism.
The safety consequences are not theoretical. On April 7, 2026, the U.S. Consumer Product Safety Commission reported that an estimated 5,600 children aged 12 and under received emergency-department treatment after window falls in 2024. About one-third required hospitalization. The CPSC also recorded at least 25 deaths between 2021 and 2023, with 80% occurring from May through October.
A handle is not a safety guard by itself. But a handle that no longer closes, locks, or controls an opening correctly demands immediate attention.
The Hard Truth: Most Window Handle Problems Start Somewhere Else
A window handle does more than give your hand something to grip. On a casement, tilt-and-turn, or espagnolette window, it transfers user force through a square spindle or geared interface into a lock body, drive rail, cams, mushroom rollers, hooks, or other locking points.
The visible lever is only the front end.
A cheap replacement handle can cost roughly £8 to £20 in the UK retail market, while published 2025 guidance placed professional replacement from about £40 upward. That price difference tempts people to swap the lever immediately. But replacing a £15 handle without checking spindle length, screw centres, lock resistance, and sash alignment is false economy.
Before ordering anything, identify which layer has failed:
Lever layer: The grip, return spring, detent, or internal handle body is worn.
Mounting layer: The screws, threads, base plate, reinforcement, or profile wall no longer holds the handle firmly.
Drive layer: The 7 mm square spindle, follower, fork, or gearbox interface has developed excessive play.
Window-system layer: Hinge sag, frame movement, keeper misalignment, gasket pressure, dirt, or corrosion is making the lock hard to operate.
That fourth layer causes the most wasted replacements.
The detailed guide to preventing binding in multi-point window locks makes the same mechanical point: hinge sag, frame distortion, tight keeps, over-compressed seals, contaminated hardware, and corrosion can all force the handle to absorb resistance created elsewhere.
So stop blaming the lever.
Failure Pattern Matrix: Diagnose Before You Repair
Use this table before touching the fixing screws.
Symptom
Most Likely Causes
Fast Diagnostic Test
Correct First Action
Stop Using the Window When
Handle base moves against frame
Loose screws, stripped threads, weak reinforcement, cracked base plate
Hold the lever still and move only the base
Remove covers and inspect fixing retention
The base separates, screws spin freely, or the profile cracks
Inspect screws, spindle, rails, and concealed joints
Clean, dry, assess corrosion, then lubricate correctly
Red rust, cracked components, or seized parts appear
One warning matters more than the others: do not force a sticking handle. If the sash is 1–2 mm out of alignment, applying extra lever force can turn a correctable geometry problem into a stripped follower, bent rod, or failed gearbox.
The site’s guide to frame tolerances that prevent hardware binding is useful here because smooth operation depends on the frame, sash, keeps, hinges, and lock moving along the intended axes. A handle cannot compensate indefinitely for structural drift.
Wobble: Find the Moving Interface
Wobble is not one fault.
If the complete base plate moves against the window frame, the mounting system is failing. If the plate remains firm while the lever rocks around the spindle axis, the handle body, spindle fit, or lock follower is worn.
When the base plate moves
Remove the decorative screw covers without gouging the coating. Support the handle, then check both fasteners.
You are looking for:
Screws that have backed out
Screws that turn without tightening
Screws that bottom out before clamping the plate
Elongated mounting holes
Cracked plastic or aluminum around the fixing points
Missing reinforcement behind a thin profile wall
A bowed base plate
Corrosion beneath the screw heads
Tightening works only when the threads and substrate remain sound. Do not install a larger screw automatically. An oversized fastener can split a polymer profile, damage reinforcement, clash with the gearbox, or leave too little edge distance around the hole.
And do not flood the screw with permanent threadlocker. Low-strength thread-retaining products may suit some metal-to-metal assemblies, but they should not replace correct thread engagement, proper screw length, and a stable mounting surface.
When the lever moves but the base stays solid
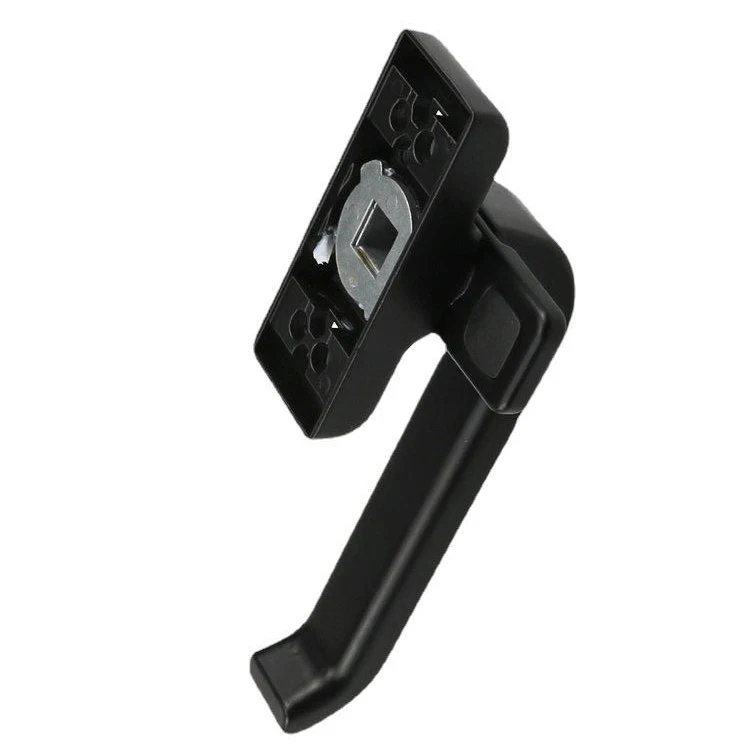
Remove the handle and inspect the spindle. Common espagnolette arrangements use a 7 mm square spindle and often use 43 mm fixing centres, but “common” does not mean universal. Measure the actual component.
Check for:
Rounded spindle corners
A spindle that is too short
Shallow engagement in the gearbox follower
An oversized handle socket
A cracked socket insert
A worn gearbox follower
Movement between the lever and its internal hub
The EN 13126-3:2023 window handle classification guide gives useful reference points. Its H1, H2, and H3 durability classes represent 5,000, 10,000, and 20,000 laboratory operating cycles, while category-of-use testing also considers free play, deformation, torque, and connection strength. But even an H3/180 handle can wobble after poor installation or excessive gearbox resistance.
Lab cycles are controlled. Buildings are not.
Droop: A Spring Failure or a Warning From the Gearbox?
A drooping window handle hangs below its intended horizontal or vertical position after the user releases it. People often assume the return spring has failed, and sometimes that diagnosis is correct.
Test it properly.
Remove the handle and operate it away from the window. If it still droops, feels vague, misses its click positions, or falls under its own weight, the handle assembly has probably worn internally.
But if the handle behaves normally after removal, the lock mechanism may be dragging it out of position.
That difference matters.
A misaligned sash can load the cams against their keeps. A tight gasket can increase closing torque. A corroded drive rail can resist travel. And a worn gearbox can stop precisely between positions, leaving the lever hanging like the spring has failed.
Ask three questions:
Does the handle return correctly when removed?
Does the window lock smoothly while the sash is open?
Does droop appear only after the sash engages the frame?
A “yes, yes, yes” pattern points toward alignment, keepers, seals, or lock loading rather than a defective handle.
This is also why buyers should assess complete door and window handle systems by drive type, spindle interface, fixing geometry, and intended opening system instead of selecting a replacement by colour and silhouette alone.
Sticking: Stop Forcing the Handle
Force hides evidence.
When a handle moves freely with the window open but becomes stiff as the sash closes, the handle is usually reporting resistance at the locking points. The common causes are sash drop, frame distortion, keeper displacement, swollen timber, dirt, paint, damaged seals, or hinge wear.
Why replace the messenger?
Use this isolation sequence:
Step 1: Test with the sash open
Turn the handle slowly through its complete movement. Watch the locking cams, rods, hooks, or tongues.
If the mechanism binds while it is not touching the frame, inspect the handle, spindle, gearbox, drive rail, and contamination path.
Step 2: Support the sash
Lift the sash gently without twisting it, then test the handle again.
If a small amount of support makes the handle easier to turn, hinge wear or sash drop has shifted the lock away from its keepers.
Step 3: Mark the contact points
Use removable marker, chalk, or transfer material on the locking points to identify where contact begins. Do not grind or file the keeps blindly. Removing material may create weak engagement, uneven seal compression, or a security gap.
Step 4: Inspect dirt and corrosion
Coastal air carries chloride salts, including sodium chloride, NaCl. Moisture can concentrate those deposits around screws, springs, spindle sockets, damaged coatings, and concealed metal joints.
Clean the mechanism using a product approved by the window or hardware manufacturer. Avoid treating every sticky lock with a general-purpose penetrating spray. Some solvent-heavy products can wash out existing grease, attract contamination, attack certain plastics, or leave the mechanism dry after the carrier evaporates.
Step 5: Lubricate the right points
Lubrication reduces friction. It does not repair bent rods, worn gears, loose rivets, stripped threads, or an out-of-square sash.
The 2019 Haringey window-safety case is a sobering example. Investigators found a tilt-and-turn fault that allowed two operating modes to interact, while lack of maintenance, mainly lubrication, may have stopped the sash from self-engaging with its restrictor. The coroner concluded in 2020 that the fatal accident would not have occurred if the window had been rendered unopenable pending permanent repair.
That is the hard line: a faulty closing or restricting mechanism should not remain casually operable while someone waits for parts.
Loose Fixings: Why Tightening Sometimes Makes the Damage Worse
Loose fixings usually fall into four groups.
1. The screw has backed out
This is the simplest case. Remove it, inspect the threads and hole, confirm the correct length and diameter, then reinstall it to the manufacturer’s torque requirement.
Do not guess at torque. Small hardware screws can strip a polymer or thin aluminum substrate long before they feel “properly tight” through a hand screwdriver.
2. The screw spins without clamping
The thread or receiving material has failed. Repeated tightening will enlarge the hole.
The repair may require an approved repair insert, replacement reinforcement, a different engineered fastener, relocation supported by the product design, or replacement of the damaged component. The right choice depends on frame material and wall construction.
3. The screw bottoms out
A screw can feel tight while the handle base remains loose because the tip has reached the bottom of a blind hole or contacted an internal component.
Check screw length against:
Base-plate thickness
Frame-wall thickness
Reinforcement position
Gearbox clearance
Required thread engagement
Coating and gasket build-up
4. The fixing is secure, but the base flexes
Thin castings, soft polymer spacers, weak profile walls, or unsupported cavities allow movement even when the screws remain tight.
This is a design or interface problem. More torque will often distort the base, crack the finish, or pull the screw head into the plate.
For broader component selection, the window and door hardware design resource connects handles with hinges, locks, latches, fasteners, and frame geometry. That systems view is far more useful than treating every loose lever as an isolated spare part.
Repair, Replace, or Escalate?
Repair the handle when the fault is limited, visible, and structurally sound. Replace it when its internal components have worn or cracked. Escalate the job when safety, locking, alignment, or frame integrity is uncertain.
A simple handle replacement is reasonable when:
The handle droops after removal from the window
The lever socket is worn but the gearbox follower remains sound
The handle body or return spring has failed
The lock mechanism operates smoothly with the handle removed
The replacement matches spindle size, projection, fixing centres, handing, rotation, and lock type
The frame and fixing holes remain undamaged
Repair the mounting system when:
The base plate moves
Fixing screws repeatedly loosen
Screw holes have enlarged
The original fastener length is wrong
Reinforcement is absent, displaced, or damaged
The base plate flexes before the lock begins moving
Inspect the full mechanism when:
The handle sticks with the sash open
The spindle turns without moving the locking points
The gearbox clicks, jumps, grinds, or stops abruptly
The drive rail bends or moves unevenly
Locking points fail to retract
Corrosion has reached springs, gears, rivets, or fasteners
Call a window professional when:
The window cannot be locked
The sash is heavy, unstable, or visibly dropped
The opening is above ground level
A restrictor or child-safety device has failed
The window serves as an emergency escape route
The frame has cracked
A tilt-and-turn window enters two modes at once
The mechanism must be disabled pending repair
The UK Health and Safety Executive states that windows presenting a fall risk in health and social-care settings should generally be restricted to an opening of 100 mm or less, with restrictors releasable only by a special tool or key. GOV.UK guidance also uses the 100 mm threshold when discussing fixed restrictors and fall protection under Approved Document O.
Different buildings have different legal and egress duties. Never install a keyed handle, restrictor, or permanent fixing without checking how occupants are expected to escape during a fire.
FAQs
Why is my window handle wobbling?
A wobbling window handle is a lever assembly with measurable side-to-side or rotational play caused by loose mounting screws, stripped fixing material, a worn spindle socket, shallow spindle engagement, base-plate flex, or internal gearbox wear; the correct repair depends on identifying which interface moves while the sash is unloaded.
Hold the base plate against the frame and move the lever separately. Base movement points toward fixings. Lever-only movement points toward the handle, spindle, or lock follower.
Why does my window handle droop?
A drooping window handle is a lever that no longer remains at its intended resting position because its return spring, detent, hub, spindle connection, or connected gearbox cannot hold the designed angle; testing the handle after removal separates an internal handle failure from resistance created by the window mechanism.
A handle that droops off-window usually needs replacement. A handle that works normally off-window requires inspection of the lock, keeps, sash alignment, and seal pressure.
How do I fix a sticking window handle?
A sticking window handle is repaired by first determining whether resistance comes from the handle, spindle, gearbox, locking points, keepers, hinges, seals, contamination, corrosion, or sash alignment, then correcting that root cause without forcing the lever or removing keeper material before the contact pattern has been measured.
Test the mechanism with the sash open. If it moves freely, focus on alignment and contact with the frame. If it remains stiff, inspect the drive components.
Can I tighten a loose window handle myself?
A loose window handle can be tightened safely when the correct screws, threads, fixing holes, base plate, frame material, and internal clearances remain undamaged, but tightening is not a valid repair when screws spin freely, mounting holes enlarge, the profile cracks, or mechanism resistance repeatedly works the fasteners loose.
Use a hand screwdriver for control. Stop when the base clamps firmly. Do not compensate for stripped threads by applying more torque.
Should I repair or replace a faulty window handle?
A faulty window handle should be replaced when its lever, spring, detent, socket, lock button, casting, or spindle interface has failed, while alignment, fixing, or gearbox problems should be repaired separately because installing a new handle onto a resistant mechanism often damages the replacement and leaves the original fault untouched.
Match the new handle by measurements and operating interface, not appearance. Confirm spindle section, spindle length, fixing centres, handing, rotation, projection, lock type, and screw specification.
Take Action Before the Handle Fails Completely
Start with the worst window.
Operate it open. Operate it closed. Support the sash. Isolate the handle. Check the spindle. Inspect the screws. Mark the locking contacts. Write down where resistance begins.
Then make one decision: tighten, realign, lubricate, replace the handle, repair the fixing substrate, or inspect the gearbox.
Do not keep forcing it.
For commercial projects, replacement programs, or OEM specifications, review the available window handle and hardware configurations and document the exact profile, spindle, screw centres, sash type, locking mechanism, finish exposure, and performance requirement before approving a sample.
A window handle repair should restore more than appearance. It should restore controlled movement, firm mounting, clear locking feedback, safe operation, and confidence that the next turn of the handle will do exactly what the user expects.