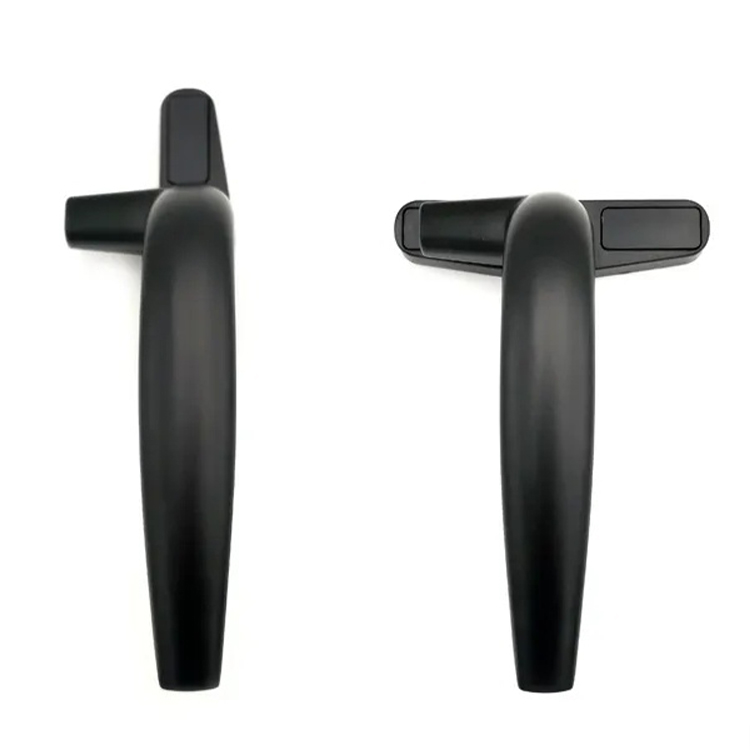
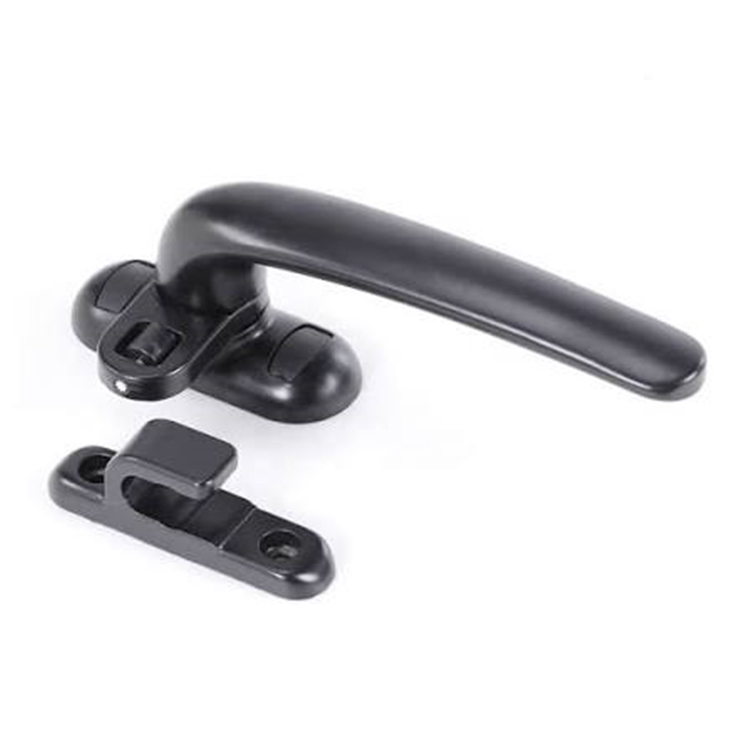
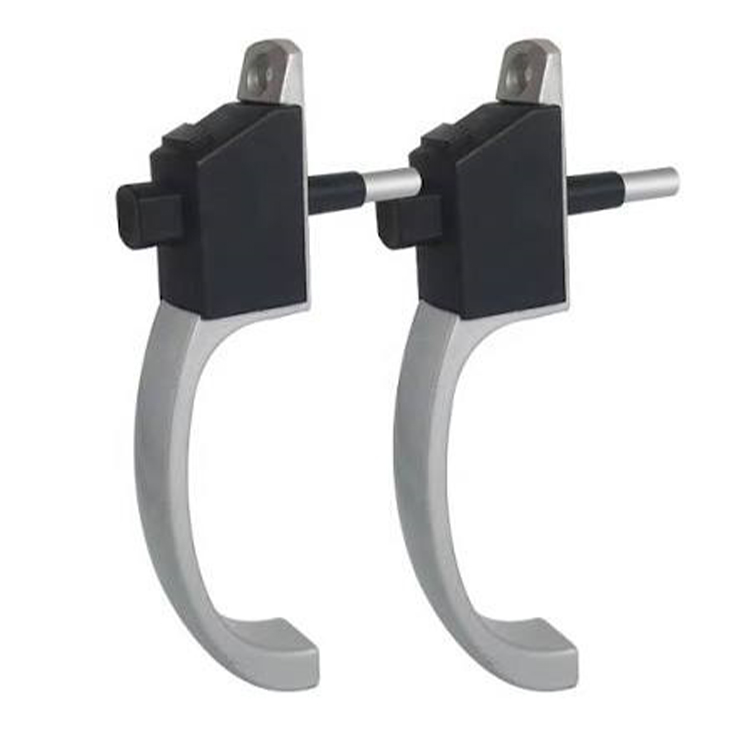
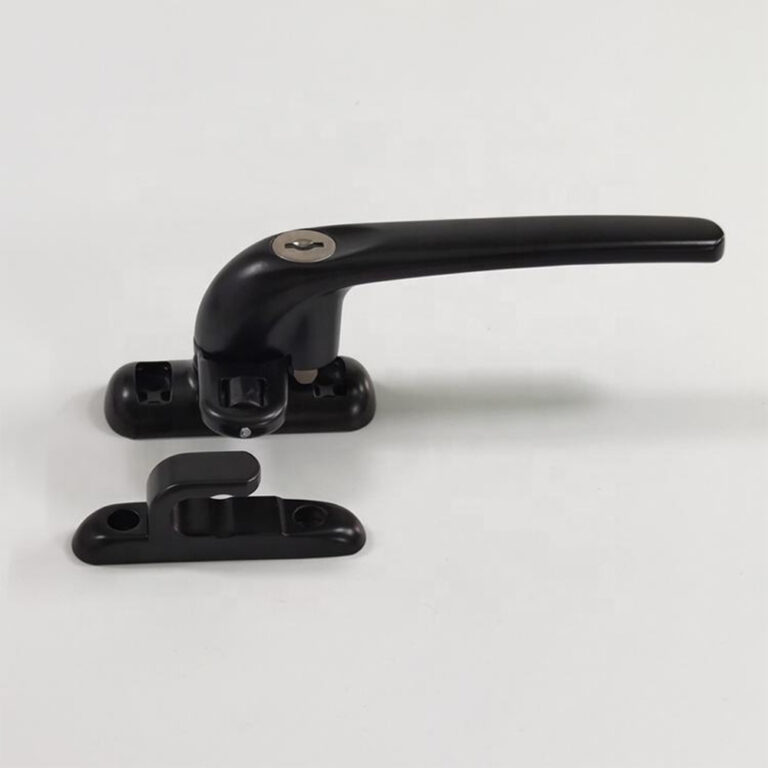
Looking for hardware solutions that meet European / American standards?
Use this guided inquiry modal to move from a generic quote form to a clearer technical conversation. Buyers can choose whether they need pricing, CAD / 3D files, or OEM / ODM support before sharing contact details.
Compatibility-first design across door / window systems
Repeatable production with clear inspection checkpoints
Documentation and change control for long-running programs
Responsive engineering support for fit and field feedback
But once a buyer, fabricator, and supplier use different reference sides—interior versus exterior, hinge side versus lock side—the same two words can describe opposite products, and the error remains invisible until assembly.
Who signs that mistake?
My position is blunt: “Left-hand window handle” is not a complete specification. Neither is “right-opening,” “handle on left,” or a phone photo with no indication of which side faces the room.
Window handle handing is a coordinate system. It needs an agreed viewpoint, a named sash configuration, a defined operating direction, and a drawing that removes interpretation.
Miss one of those fields and the supplier may manufacture exactly what was requested—just not what the window needs.
The Fast Answer: Define the Window Before the Handle
The safest way to specify left-hand or right-hand window handles is to document five facts in this order:
Viewing side: Are we looking from the exterior or interior?
Window type: Casement, awning, tilt-and-turn, sliding, hopper, or fixed-plus-operable combination?
Hinge or pivot side: Where is the sash physically supported?
Handle position and interface: Which stile carries the handle, and does it use a spindle, fork, blade, latch tongue, or operator shaft?
Rotation and final positions: Which direction unlocks the mechanism, and where should the lever sit when locked, open, or tilted?
That order matters.
A handle does not create the handing convention. The window system does.
The table exposes the hard truth: window sash handing, operator handing, and window handle handing are related, but they are not always identical.
Treating them as synonyms is how mirrored components reach the production line.
Why Casement, Awning, and Espag Systems Cause So Much Confusion
Casement window handle handing starts at the hinges
For a traditional side-hung casement, I start with an exterior elevation. Not a photograph taken at an angle. Not a sketch sent through a messaging app. A flat, marked elevation.
The drawing should state:
Exterior view
Hinge side
Lock stile
Opening direction
Interior handle location
Operator or stay arrangement
Part number and drawing revision
AmesburyTruth applies the same exterior hinge-side rule to its EntryGard dual-arm operator. Its technical sheet also shows why a product name alone is weak: the operator, track, stud bracket, arm arrangement, handle, and cover form one working package.
This is where experienced buyers still get caught.
Andersen’s casement convention uses the exterior hinge side, but its awning window handing guidance identifies awning hinge handing from the interior. The product family changes, and the viewpoint changes with it.
There is no shame in checking the manufacturer’s convention.
There is shame in guessing.
An RFQ covering casement and awning products should never carry a generic note such as “all hardware handed from outside.” That may work for one family and reverse another.
Espag window handle orientation is an interface problem
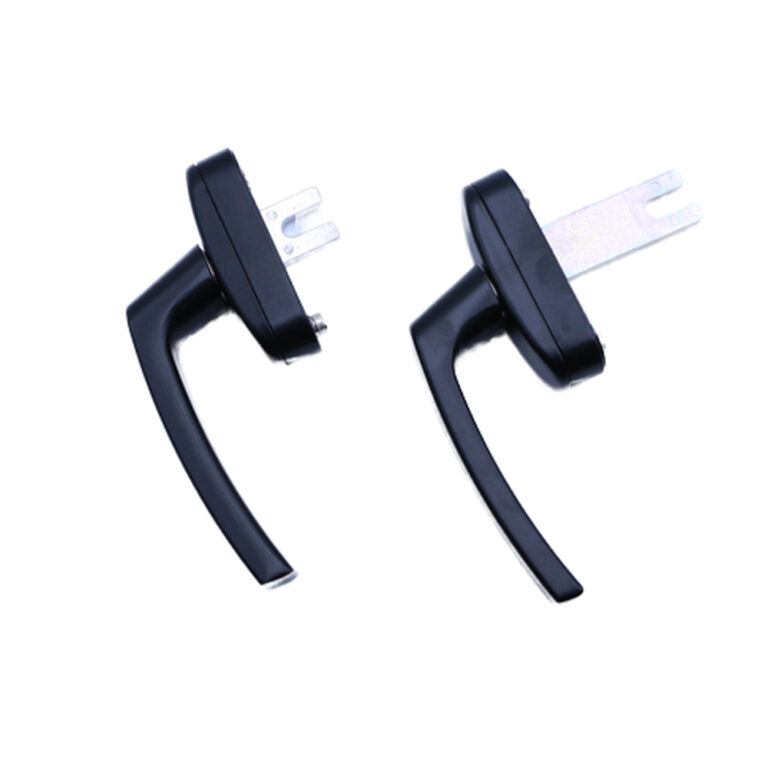
An espagnolette handle transfers lever movement through a square spindle, fork, blade, or other drive connection into a gearbox or locking rail.
Some designs are reversible. Some use a symmetrical base but an asymmetric lever. Some can be mounted on either side yet require different internal stops. Others are handed because the fork offset, latch tongue, screw layout, or lever sweep cannot be mirrored.
So I do not approve an espag handle from a front-view photograph.
I want:
Drive type
Spindle section
Spindle projection
Fixing-centre distance
Base dimensions
Gearbox backset
Required lever travel
Locked position
Opening position
Tilt or ventilation position, where applicable
Clockwise or counterclockwise movement from a named viewpoint
Common espag arrangements may use a 7 mm square spindle and 43 mm fixing centres, but “common” is not the same as universal. Measure the actual handle, lock follower, and profile stack before releasing a replacement or OEM order.
For buyers unsure whether the mechanism is espagnolette, cam, crescent, sash, or multipoint, the first step should be identifying the system through this guide to window lock types and their operating differences.
Non-handed does not mean universal
The industry loves non-handed hardware because it reduces SKUs, picking errors, and warehouse space.
Fair enough.
AmesburyTruth, for example, offers certain lock systems with one handle or drive configuration for both left-hand and right-hand windows. That is a real inventory advantage, but it does not remove requirements for tie-bar geometry, keeper position, mounting dimensions, or approved rotation.
A non-handed handle may still fail to fit because:
The spindle is too short
The fork faces the wrong direction
The screw pattern clashes with the gearbox
The lever hits the frame or adjacent sash
The internal stop prevents the required travel
The handle reaches the open position before the locking points fully retract
One SKU can serve both hands.
It cannot serve every system.
The Specification Method I Trust
Step 1: Mark the reference view in large text
Write EXTERIOR VIEW or INTERIOR VIEW directly on the drawing.
Do not hide it in revision notes.
And do not write “viewed from front.” Front of what—the building, sash, handle, extrusion, or packaged component?
Step 2: Define the sash handing separately
Use a complete statement:
LH casement sash: hinges on left when viewed from exterior.
Or:
RH casement sash: hinges on right when viewed from exterior.
For top-hung, bottom-hung, tilt-and-turn, or sliding units, use the product manufacturer’s convention and state it directly.
Step 3: Name the physical handle location
Record the actual mounting point:
Interior left stile
Interior right stile
Lower rail
Meeting stile
Lock stile opposite hinges
Centre-mounted on sash
Frame-mounted operator at sill
This stops the classic error in which “left-hand sash” is misread as “handle mounted on left.”
Step 4: Specify the operating interface
The handle must connect to something.
Name it.
A serious specification distinguishes between a square-spindle espag lever, fork handle, blade-drive handle, projecting latch tongue, crank operator, surface-mounted sash latch, and integrated lock handle.
The OEM door and window handle range separates casement, sliding, locking, spindle, fork, lever, pull, and recessed configurations because these interfaces are not interchangeable.
Step 5: Define rotation from the user’s viewpoint
“Clockwise to open” is incomplete unless the drawing states where the observer stands.
Use language such as:
Viewed from the interior, rotate the lever 90° clockwise from locked to open.
For a tilt-and-turn system, state all positions:
0°: locked
90°: turn-open
180°: tilt-open
Those angles are only an illustration. The approved gearbox drawing remains the authority.
Step 6: Approve a handed pair on the real profile
A tabletop sample proves the finish and basic movement.
It does not prove clearance.
Install one left-hand and one right-hand sample on the intended extrusion with the actual gearbox, gasket compression, hinge system, keeps, screws, and sash geometry. Then test the handle through its complete operating path.
What a Production-Ready Window Handle Specification Looks Like
Here is the level of detail I expect before sampling:
Application: Outward-opening aluminum casement window Reference: Exterior elevation for sash handing; interior elevation for handle operation Sash handing: LH, hinges on left when viewed from exterior Handle location: Interior right lock stile Handle type: Locking espagnolette lever Drive: 7 mm square spindle Fixing centres: 43 mm Spindle projection: Per attached profile section and gearbox engagement drawing Locked position: Lever vertical downward Unlock movement: 90° clockwise when viewed from interior Finish: RAL 9005 matte black, approved master sample required Fasteners: Defined by profile reinforcement and gearbox clearance Validation: One LH and one RH assembled sash sample Drawing: WH-LR-024, Revision C Packaging label: LH-SASH / INT-RH-HANDLE / LOT / DATE / FINISH
The 7 mm and 43 mm dimensions above are examples, not purchasing defaults.
The real power lies in the structure. Every ambiguous word is tied to a view, component, measurement, or drawing.
The Errors I Would Reject Immediately
“Left-hand handle, black”
Rejected.
No window type. No viewpoint. No spindle. No rotation. No lock interface.
“Same as sample, but mirrored”
Rejected.
“Mirrored” may reverse the lever, base, fork, logo, screw covers, latch tongue, or complete operating mechanism. Which parts must change and which must remain identical?
“Handle on opening side”
Rejected.
The opening side may mean hinge side, leading edge, ventilation gap, meeting stile, or direction of travel.
“Universal espag handle”
Questioned hard.
Show the approved spindle range, fixing centres, rotation stops, lever clearance, gearbox compatibility, and installation orientations.
“Supplier to confirm handing”
Also rejected.
The supplier can confirm whether the proposed component matches the buyer’s documented system. The supplier should not invent the buyer’s handing convention.
That responsibility belongs in the drawing package.
Why a Handing Error Is More Than a Warehouse Nuisance
A reversed handle can cause obvious problems: the lever points into the glass line, hits an adjacent sash, rotates away from the intended grip zone, or fails to align with the gearbox.
The quieter failures cost more.
A mismatched handle may leave cams or mushroom rollers partly engaged, increase operating force, load the spindle unevenly, or stop the sash from reaching consistent seal compression. The U.S. Department of Energy estimates that heat gain and loss through windows account for roughly 25% to 30% of residential heating and cooling energy use. That statistic does not mean one wrong handle creates a 30% energy penalty, but it shows why incomplete closing and inconsistent sealing should not be dismissed as cosmetic. DOE’s window energy guidance supports that wider performance context.
Accessibility deserves the same honesty. Where an operable part is required to meet U.S. accessibility provisions, the U.S. Access Board’s guidance calls for one-hand operation without tight grasping, pinching, or wrist twisting and limits operating force to 5 lbf, equivalent to 22.2 N. A badly oriented lever or resistant mechanism can turn an acceptable design into a poor user interface.
And safety is not theoretical. During National Window Safety Week in April 2026, the U.S. Consumer Product Safety Commission reported that an estimated 5,600 children aged 12 and under received emergency-department treatment after window falls in 2024; about one-third were hospitalized, and the agency knew of at least 25 deaths from 2021 through 2023. A handle is not a fall guard, but a window that cannot be reliably closed, locked, or understood should never pass inspection.
Small part?
Not anymore.
The Buyer’s Handing Checklist
Before approving left-handed window handles or right-handed window handles, confirm that the package contains:
A marked interior elevation
A marked exterior elevation
Hinge or pivot location
Sash opening direction
Handle mounting stile
Moving panel identification
Lock and gearbox model
Spindle, fork, or blade dimensions
Fixing centres and screw specification
Spindle engagement depth
Locked, open, and ventilation positions
Rotation direction from a named view
Lever clearance in every position
Finish code and master sample
LH and RH part numbers
Drawing revision
Packaging and carton labels
Installed sample approval
Functional inspection method
Also test the complete mechanism with the sash open and closed. A handle that moves freely in open air but becomes stiff against the frame may be reporting hinge sag, keeper misalignment, seal pressure, or frame distortion rather than a defective lever.
Window handle handing is the documented left-or-right orientation of a handle, operator, lock interface, or sash, defined from a stated viewing side and tied to hinge position, mounting location, rotation direction, and the hardware manufacturer’s naming convention so the supplied part matches the actual opening.
It should be shown on interior and exterior elevations rather than communicated through an isolated product photograph.
How do I determine whether a window handle is left-handed or right-handed?
A left-handed or right-handed window handle is determined by first naming the viewing side, then recording the sash hinge side, the handle’s mounting stile, the required lever sweep, and the exact part or drawing; without those fields, the words left and right remain open to conflicting interpretation.
For casement windows, establish the sash handing before assigning the handle or operator part number.
Are espag window handles left-handed or right-handed?
An espag window handle may be non-handed, reversible, or genuinely handed depending on its lever shape, spindle or fork geometry, internal stops, screw pattern, and required rotation, so the specification must identify the gearbox interface and locked, open, and ventilation positions rather than relying on appearance.
Verify spindle dimensions, fixing centres, projection, and lever clearance on the actual profile.
Does left-hand mean the window handle is mounted on the left?
Left-hand does not automatically mean the visible window handle sits on the left, because many casement conventions name the sash by its exterior hinge side while the operating handle is installed on the opposite lock stile and viewed from the room side.
Always document sash hand and interior handle position as separate fields.
What information should a window handle RFQ include?
A window handle RFQ should define the window type, interior and exterior reference views, sash handing, hinge side, handle side, opening direction, spindle or fork interface, fixing centres, spindle projection, lever positions, rotation direction, finish, part number, drawing revision, sample quantity, and approval method.
Annotated elevations and an installed handed pair are far safer than written descriptions alone.
Your Next Step: Replace “Left” and “Right” With Evidence
Open your current handle specification.
Circle every use of “left,” “right,” “clockwise,” “opening side,” and “mirrored.” Then ask whether each term has a named viewing side, physical reference, dimension, and drawing.
Where the answer is no, stop the RFQ.
For a new program, send CHIER the interior and exterior elevations, profile section, sash configuration, lock or gearbox drawing, spindle details, finish requirement, annual quantity, and one physical reference sample. The company’s OEM and ODM window handle development process supports drawing review, sampling, dimensional checks, finish matching, production control, and private-label packaging for repeat orders.
Do not request “a left-hand handle.”
Specify the window. Define the view. Control the interface. Approve both hands.